
The Complete Guide to Food Preservation Methods at Home
The Complete Guide to Food Preservation Methods at Home
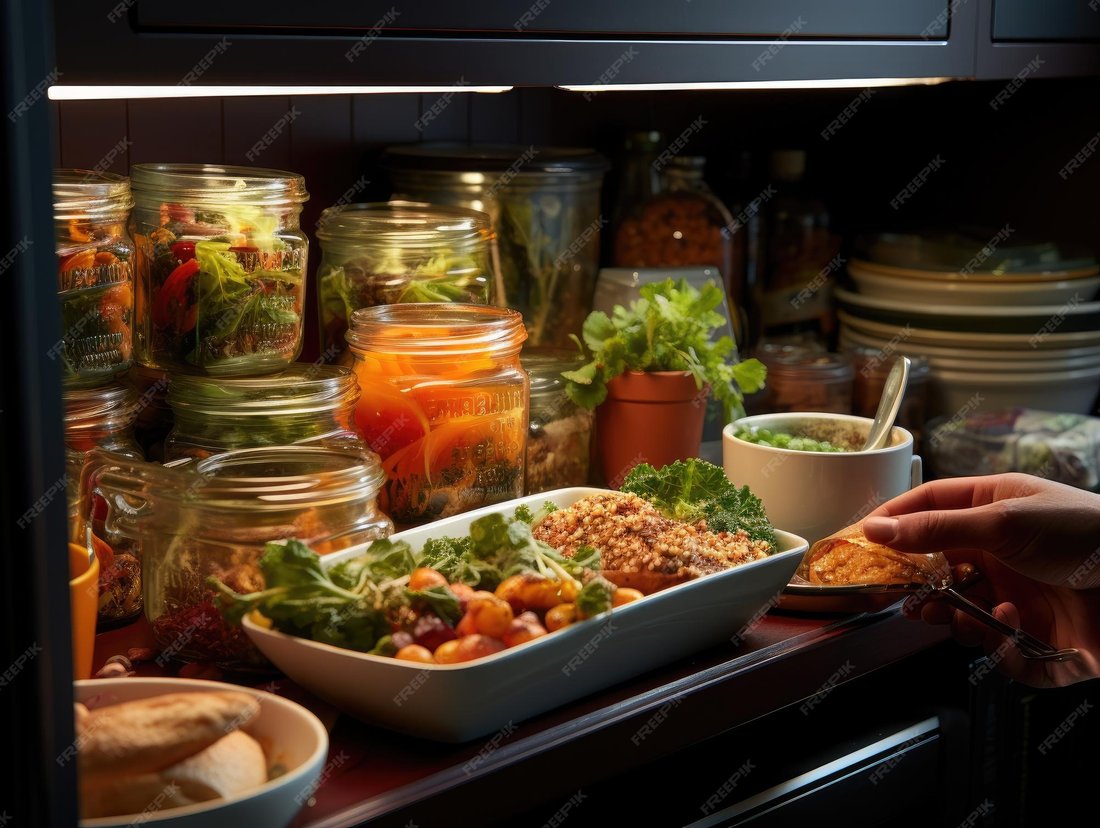
Food preservation methods at home have become essential for modern households looking to minimize waste, save money, and enjoy seasonal produce year-round. Whether you’re a homesteader, a busy parent, or simply someone passionate about sustainable living, mastering these techniques ensures your food stays fresh and safe. This comprehensive guide covers the most effective food preservation methods at home, from canning to freezing, with step-by-step advice, safety tips, and SEO-optimized insights to help you get started. By the end, you’ll be equipped to preserve everything from fruits and vegetables to meats and herbs.
Why Preserve Food at Home?
Feature Video
Preserving food at home offers numerous benefits. First, it reduces food waste— the average family throws away up to 30% of their groceries. Second, it saves money by buying in bulk during peak seasons. Third, home-preserved foods often taste superior to store-bought versions, retaining natural flavors and nutrients. Additionally, it’s empowering; you control ingredients, avoiding preservatives and excess sodium. Popular methods like canning and freezing lock in freshness, while fermentation adds probiotics for gut health. With rising grocery costs, food preservation methods at home are more relevant than ever, promoting self-sufficiency and environmental sustainability.
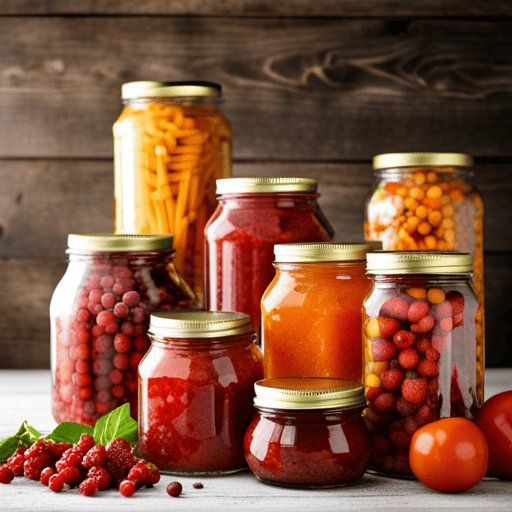
Canning: The Classic Food Preservation Method
Canning is one of the oldest and most reliable food preservation methods at home, involving sealing food in jars and heating to kill bacteria. There are two main types: water bath canning for high-acid foods like fruits, jams, and pickles, and pressure canning for low-acid items such as vegetables, meats, and soups.
For water bath canning, sterilize jars, fill with prepared food plus acid (like lemon juice or vinegar), leave headspace, wipe rims, apply lids, and process in boiling water for the recommended time—typically 10-85 minutes based on altitude and food type. Pressure canning uses a specialized canner reaching 240°F to destroy botulism spores; follow USDA guidelines precisely, processing pints of green beans for 20 minutes at 11 PSI.
Pros include long shelf life (up to 18 months) and no refrigeration needed. Cons: high initial equipment cost ($100+ for a pressure canner) and time-intensive. Always test seals post-cooling; unsealed jars go to the fridge. Canning is ideal for tomatoes, peaches, and salsas, making it a staple in home food preservation methods.
Freezing: Quick and Convenient Preservation
Freezing is among the simplest food preservation methods at home, halting bacterial growth by lowering temperatures to 0°F or below. It’s versatile for fruits, veggies, meats, baked goods, and meals. Start by blanching vegetables (brief boiling then ice bath) to preserve color, texture, and nutrients—skip for fruits, herbs, and meats.
Portion into freezer-safe bags or containers, removing air to prevent freezer burn. Label with dates; most items last 8-12 months. For example, flash-freeze berries on a tray before bagging, or marinate meats first. Use a vacuum sealer for superior results. Thaw safely in the fridge, never at room temperature.
Advantages: minimal nutrient loss, retains flavor, and quick process. Drawbacks: requires freezer space and electricity. Freezing excels for summer corn, strawberries, and chili, extending enjoyment beyond harvest season in your home preservation toolkit.
Drying and Dehydrating: Ancient Yet Effective
Drying removes moisture to inhibit microbes, concentrating flavors in a lightweight form. Home dehydrators ($40-200) make it easy, but ovens or sun-drying work too. Slice foods thinly (1/4-inch), pretreat with lemon juice or blanching to prevent browning, and dry at 95-145°F until brittle or leathery—4-12 hours for herbs, 6-36 for fruits.
Jerky requires a marinade and 160°F for safety. Store in airtight jars in cool, dark places; shelf life is 6-12 months. Popular for apples, bananas, tomatoes, and herbs. Pros: no refrigeration, portable snacks. Cons: equipment investment and longer prep. Dehydrating is a top food preservation method at home for hikers and snack lovers.
Fermentation: Probiotic-Packed Preservation
Fermentation uses beneficial bacteria to create acids preserving food while enhancing taste and nutrition. It’s trendy for sauerkraut, kimchi, kombucha, and yogurt. For sauerkraut, shred cabbage, massage with 2% salt, pack into jars, submerge under brine, and ferment at 60-70°F for 1-4 weeks, “burping” daily.
Kefir grains turn milk into tangy probiotics overnight. Monitor for mold; off smells mean discard. Shelf-stable after full fermentation or refrigerate to slow. Benefits: gut health, unique flavors, low energy. Risks: improper temps lead to spoilage—use clean equipment. Fermentation shines in home food preservation methods for veggies and beverages.
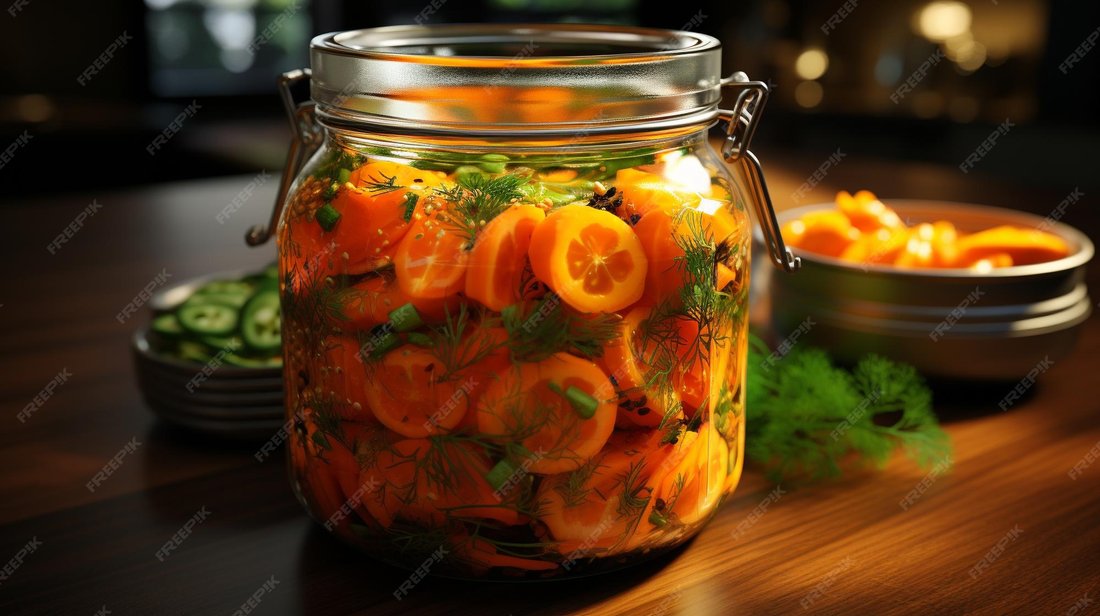
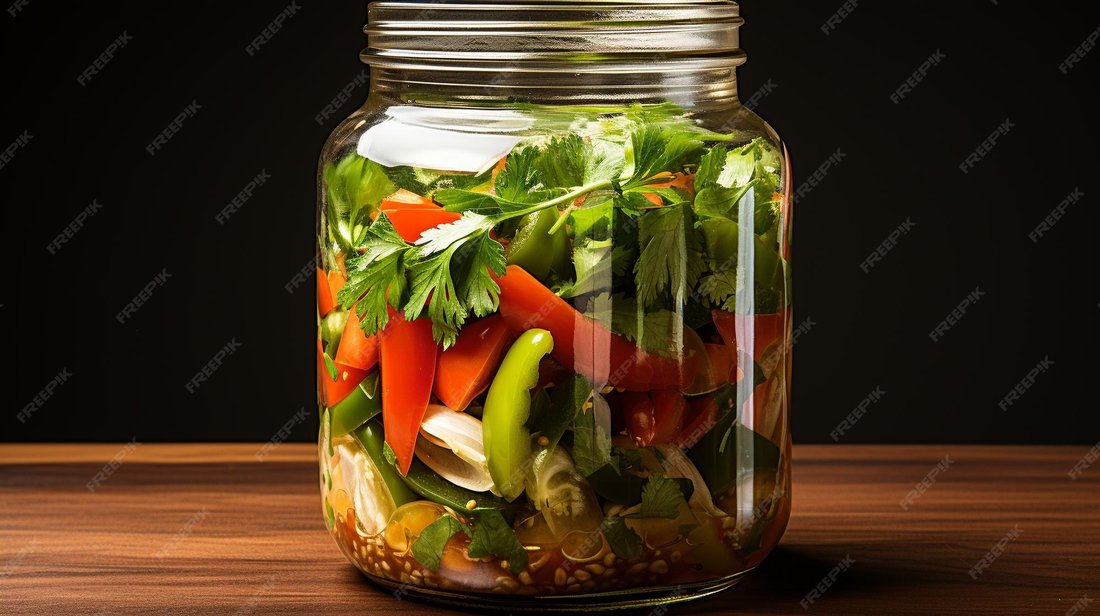
Pickling: Tangy and Versatile
Pickling submerges food in vinegar brine, a quick canning alternative. Quick pickles (refrigerator) ready in hours: boil vinegar, water, salt, sugar, spices; pour over cukes, onions, or carrots in jars; chill 24 hours. For shelf-stable, water bath can.
Dill pickles use garlic, dill, and grape leaves for crunch. Experiment with beets, eggs, or green beans. Lasts months refrigerated. Pros: fast, customizable flavors. Cons: vinegar taste not for all. Pickling is beginner-friendly among food preservation methods at home.
Smoking: Flavorful Meat and Fish Preservation
Smoking combines drying, cooking, and flavoring with wood smoke. Cold smoking (under 100°F) preserves; hot smoking (120-180°F) cooks too. Use a smoker box or DIY setup. Cure meats first with salt/nitrates for 1-7 days to draw moisture and inhibit bacteria.
Smoke salmon 4-8 hours with alder wood; jerky 4-6 hours. Store vacuum-sealed in fridge (weeks) or freezer (months). Safety: follow curing recipes to avoid botulism. Pros: gourmet taste. Cons: time, smoke management. Smoking elevates home preservation.
Vacuum Sealing and Other Modern Methods
Vacuum sealing removes oxygen, extending fridge/freezer life 3-5x. Pair with freezing for best results. Root cellaring stores potatoes, onions in cool (32-40°F), humid spots for months. Salt or sugar curing works for fish/eggs. These complement traditional food preservation methods at home.
Safety Tips for All Food Preservation Methods

Safety first: Follow USDA or Ball guidelines; altitude adjusts processing times. Sanitize everything with hot soapy water or dishwasher. Check for spoilage—bulging lids, leaks, off odors mean discard immediately. Acidify low-acid foods. pH test kits ensure safety. For beginners, start small. Proper hygiene prevents foodborne illness in home preservation.
Conclusion: Start Your Home Preservation Journey
Mastering food preservation methods at home empowers you to eat healthier, waste less, and savor homegrown goodness anytime. From canning’s reliability to fermentation’s health boost, each technique has a place in your kitchen. Invest in basics like jars, a canner, and dehydrator, then experiment safely. Share your preserves, track savings, and enjoy the satisfaction of self-reliance. Search no more—your complete guide to food preservation methods at home is here. Start today and transform your pantry!