
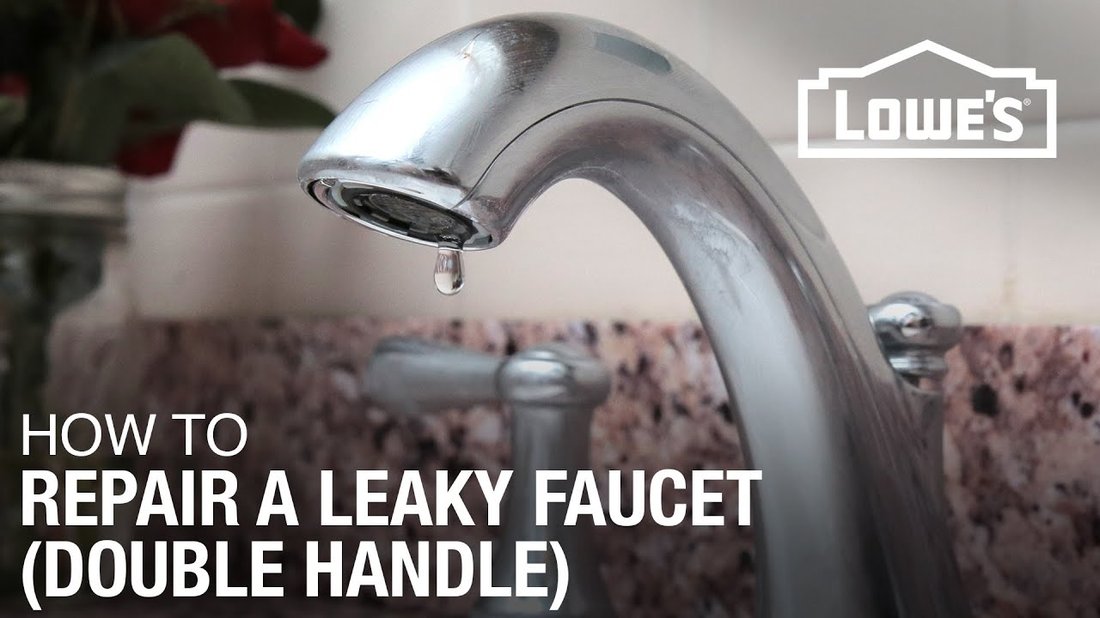
How to Fix a Leaky Faucet and Save Gallons of Water Every Week
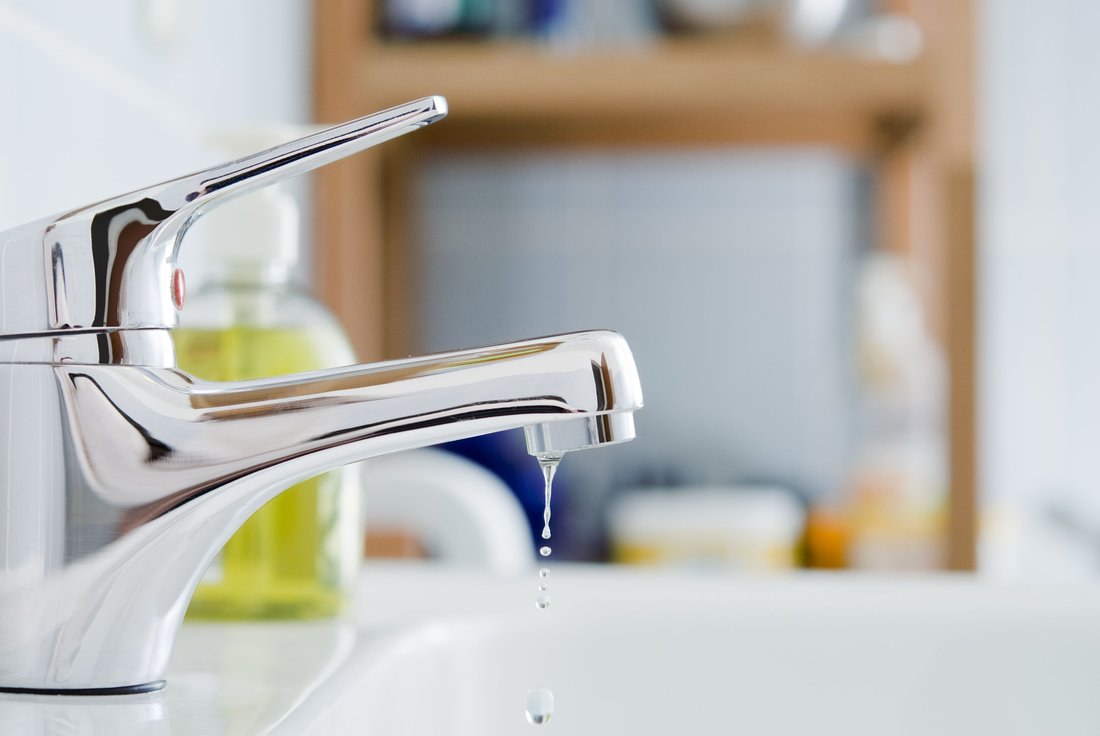
A leaky faucet is more than just an annoying drip—it’s a silent water thief. According to the U.S. Environmental Protection Agency (EPA), a single dripping faucet can waste up to 3,000 gallons of water per year. That’s enough to fill a small swimming pool or cover your weekly grocery bill in hidden costs. Fixing a leaky faucet isn’t just a quick DIY task; it’s a smart way to save gallons of water every week, lower your utility bills, and contribute to water conservation efforts. In this comprehensive guide, we’ll walk you through how to diagnose, repair, and prevent faucet leaks step by step. Whether you’re dealing with a kitchen sink drip or a bathroom tap annoyance, these proven methods will have you saving water—and money—in no time.
Why bother fixing a leaky faucet? Beyond the environmental impact, leaks contribute to higher water and sewer bills. In areas with water restrictions or rising utility rates, the savings can be significant—up to $20–$50 annually per faucet. Plus, constant dripping can lead to mineral buildup, mold growth, and even structural damage under sinks. With basic tools and a little patience, most repairs take under an hour. Let’s dive into the essentials of how to fix a leaky faucet.
Understanding the Types of Leaky Faucets
Feature Video
Before grabbing your wrench, identify your faucet type. Most modern faucets fall into four categories: compression, ball, cartridge, or ceramic disc. Each has unique leak points and repair needs.
Compression Faucets: The oldest style with a rubber washer compressed by a stem. Leaks usually occur at the spout or handle due to worn washers.
Ball Faucets: Common in single-handle designs (e.g., Price Pfister). A rotating ball controls flow; leaks stem from faulty seals or springs under the ball.
Cartridge Faucets: Feature a cylindrical cartridge for mixing hot/cold water. Leaks happen when O-rings or the cartridge itself degrade.
Ceramic Disc Faucets: Modern and durable, using ceramic discs to control flow. Leaks are rare but often due to damaged seals or debris.
Turn off the water supply under the sink (or at the main valve) and plug the drain to avoid losing small parts. This prep step prevents floods and frustration during your leaky faucet repair.
Tools and Materials You’ll Need
Gathering the right tools ensures a smooth repair. Here’s a basic kit for most jobs:
- Adjustable wrench or basin wrench
- Screwdriver set (Phillips and flathead)
- Allen wrench set (for hex screws)
- Pliers (needle-nose preferred)
- Replacement parts: washers, O-rings, cartridges (match your faucet brand)
- Plumber’s grease or silicone sealant
- Bucket and rags for cleanup
- Vinegar or descaler for mineral buildup
Pro tip: Take photos of disassembly for reassembly. Buy a universal faucet repair kit from hardware stores like Home Depot for $10–$20—cheaper than a plumber callout ($150+).
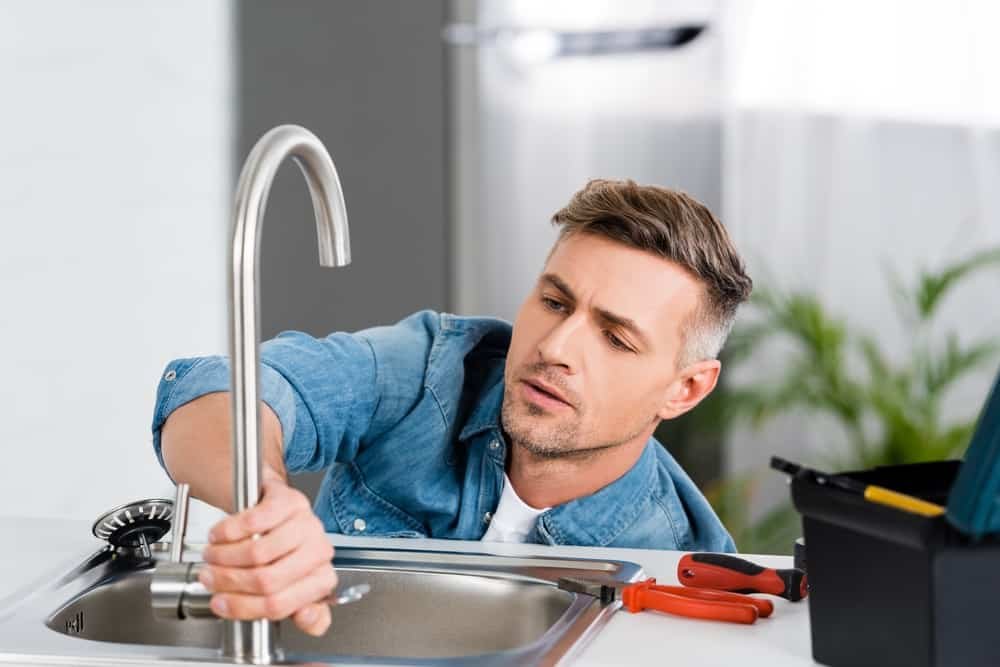
Step-by-Step Guide: Fixing a Compression Faucet Leak
Compression faucets are the simplest to fix. Follow these steps for a dripping faucet fix:
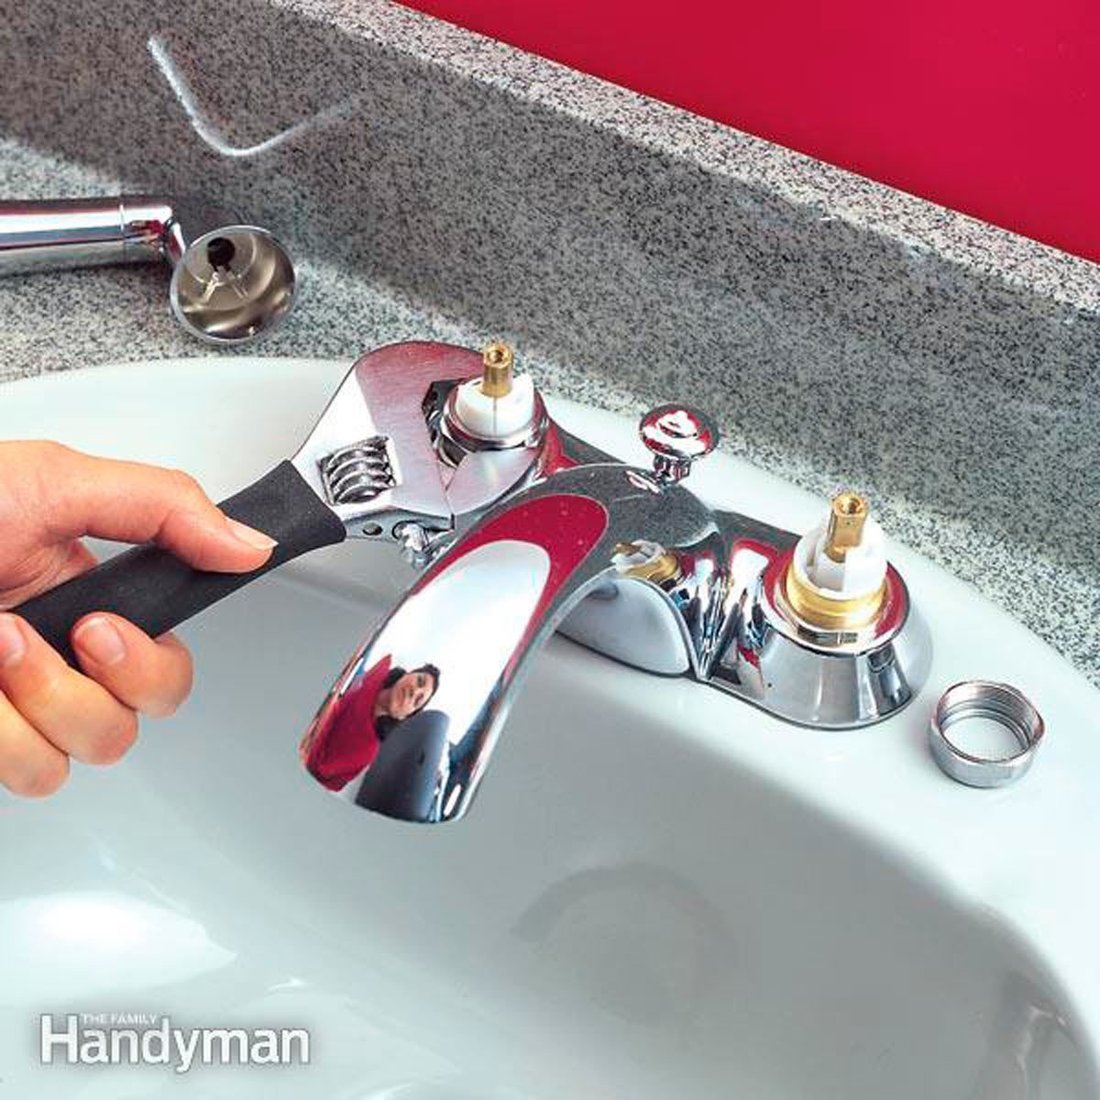
- Disassemble: Remove the handle screw (often under a decorative cap). Unscrew the packing nut and pull out the stem.
- Inspect: Check the rubber washer at the stem tip for cracks or thinning. Examine the seat (where the washer presses) for wear grooves.
- Replace: Swap the washer and O-ring. Use a seat wrench if the seat is pitted—clean with vinegar first.
- Reassemble: Apply plumber’s grease to O-rings. Tighten snugly but avoid over-tightening to prevent cracks.
- Test: Turn water on slowly. Adjust packing nut if handle drips.
This fix typically resolves 80% of compression leaks, saving immediate drips and preventing future issues.
Repairing Ball-Type Faucet Leaks
Ball faucets require more parts but are straightforward with the right kit.
- Pry off the handle cap, remove the handle screw, and lift the handle.
- Unthread the dome-shaped cap with a wrench.
- Lift out the ball assembly, noting spring and seal orientation.
- Remove old seals with pliers—replace all three rubber seals and springs.
- Clean the ball and housing; polish with fine sandpaper if corroded.
- Reinsert ball, aligning slots with springs. Replace cap, handle, and test.
Expect to save 1–2 gallons daily from these repairs. Genuine replacement kits ensure longevity.
How to Fix Cartridge and Ceramic Disc Faucets
Cartridge Faucets:
- Remove handle and retaining clip/nut.
- Pull out the cartridge—note hot/cold orientation.
- Replace O-rings on the body and new cartridge if scored.
- Lubricate and reinstall; test for smooth operation.
Ceramic Disc Faucets: These rarely leak internally but check spout diverter or seals.
- Disassemble as above to access the disc assembly.
- Clean grooves with a soft brush and vinegar to remove grit.
- Replace inlet seals or entire disc if cracked (pricey but lasts 20+ years).
- Reassemble with thread tape on spout connections.
These modern faucets save water inherently via low-flow designs—pairing with a fix maximizes efficiency.
Troubleshooting Common Issues During Repair
Not every repair goes perfectly. If water still leaks:
- Mineral Buildup: Soak parts in white vinegar overnight.
- Handle Stiffness: Grease pivots; avoid force.
- Reverse Leak: Check supply lines or aerator (unscrew and clean).
- Low Pressure Post-Repair: Ensure all valves are fully open.
For persistent leaks, consider faucet replacement. Low-flow models (1.5 GPM) comply with EPA WaterSense standards, amplifying your weekly savings.
Preventing Future Leaky Faucets

Prevention is key to long-term water savings. Implement these habits:
- Turn off water when not in use—install shutoff valves per fixture.
- Winterize outdoor faucets with insulation.
- Schedule annual inspections; tighten packing nuts quarterly.
- Use water softeners in hard water areas to reduce scale.
- Opt for touchless or motion-sensor faucets for high-use spots.
Track savings with a water meter or bill comparison. Many utilities offer rebates for efficient fixtures.
The Bigger Picture: Water Savings and Environmental Impact
Fixing one leaky faucet saves 20–40 gallons weekly. In a household with multiple bathrooms, that’s hundreds of gallons monthly. Multiply by U.S. households (over 100 million), and proactive repairs avert billions in waste annually. Reduced water use eases strain on treatment plants, lowers energy for heating/pumping, and preserves aquifers. Financially, expect $10–$30 monthly bill drops, plus DIY pride.
Pair faucet fixes with other conservation: low-flow showerheads, efficient washers. Programs like EPA’s WaterSense certify products saving 50% water without sacrificing performance.
Conclusion: Take Action Today
Armed with this guide, you’re ready to tackle that leaky faucet repair and reclaim your water savings. It’s a beginner-friendly project yielding immediate results—less drip, lower bills, greener planet. If unsure, consult online videos or a local pro. Start now: your wallet and the environment will thank you. Share your success stories and keep dripping faucets at bay!
(Word count: 1,248)