
How to Sharpen a Kitchen Knife Like a Chef (It’s Easier Than You Think)
How to Sharpen a Kitchen Knife Like a Chef (It’s Easier Than You Think)
In the world of professional cooking, a sharp kitchen knife is non-negotiable. Chefs rely on razor-sharp blades to slice through vegetables, portion proteins, and create flawless presentations with ease and precision. But here’s the good news: you don’t need to be a culinary expert to achieve chef-level sharpness at home. Learning how to sharpen a kitchen knife properly can transform your cooking experience, making prep work faster, safer, and more enjoyable. Contrary to popular belief, it’s easier than you think—especially with the right techniques and tools. In this comprehensive guide, we’ll walk you through everything from essential tools to step-by-step methods used by pros, ensuring your knives stay in peak condition. Whether you’re a home cook or aspiring chef, mastering knife sharpening will elevate your kitchen game.
Why Sharpening Your Kitchen Knives Matters
Feature Video
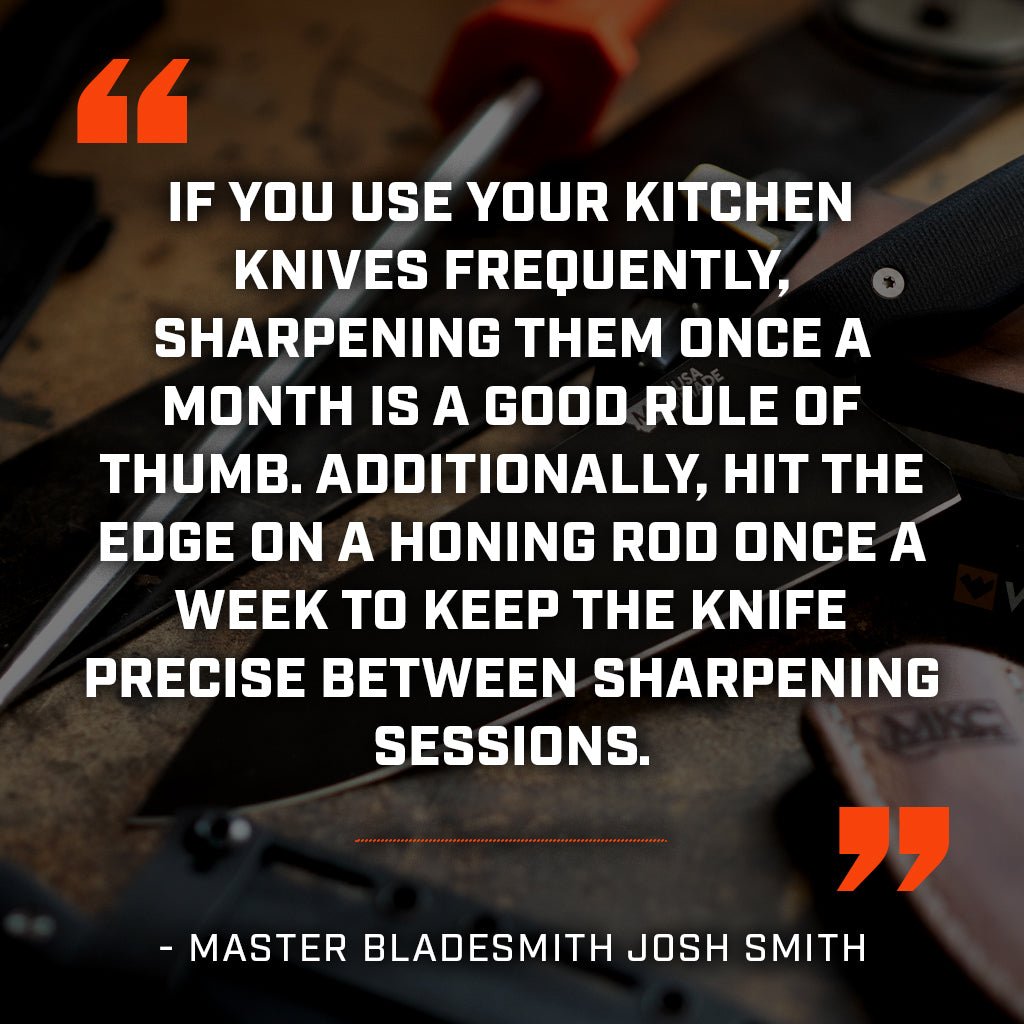
Dull knives are more than just frustrating; they’re dangerous. A blunt blade requires more force to cut, increasing the risk of slips and injuries. Sharp knives glide through ingredients effortlessly, reducing accidents and saving time. Regular sharpening maintains the knife’s edge, preserving its longevity and performance. Professional chefs sharpen their knives daily or weekly, depending on use, to ensure consistency.
Beyond safety, a sharp knife improves food quality. Think paper-thin slices of sashimi or perfectly julienned carrots—impossible with a dull edge. It also enhances flavor by allowing precise cuts that expose more surface area. Economically, sharpening at home beats paying for professional services or replacing knives frequently. Keywords like “how to sharpen kitchen knives at home” are popular because savvy cooks know the value of DIY maintenance. Invest time in learning this skill, and you’ll see immediate returns in your daily meal prep.
Essential Tools for Sharpening Kitchen Knives
Before diving into techniques, gather the right equipment. Start with a whetstone (waterstone), the gold standard for chefs. Choose one with multiple grits: 1000 for general sharpening and 6000 for polishing. Soak it in water for 10-15 minutes before use. A honing rod, typically steel or ceramic, is great for daily maintenance, realigning the edge without removing metal.
For beginners, an electric knife sharpener offers convenience with preset angles. Look for models with diamond abrasives for durability. Angle guides or clamps ensure consistency, crucial for straight edges like those on chef’s knives or santokus. Don’t forget a damp cloth for stability, leather strop for final polishing, and mineral oil for storage. With these tools—totaling under $50 for basics—you’re set to sharpen like a pro. Avoid cheap pull-through sharpeners; they often damage blades irreparably.
Understanding Knife Angles: The Foundation of Sharpness
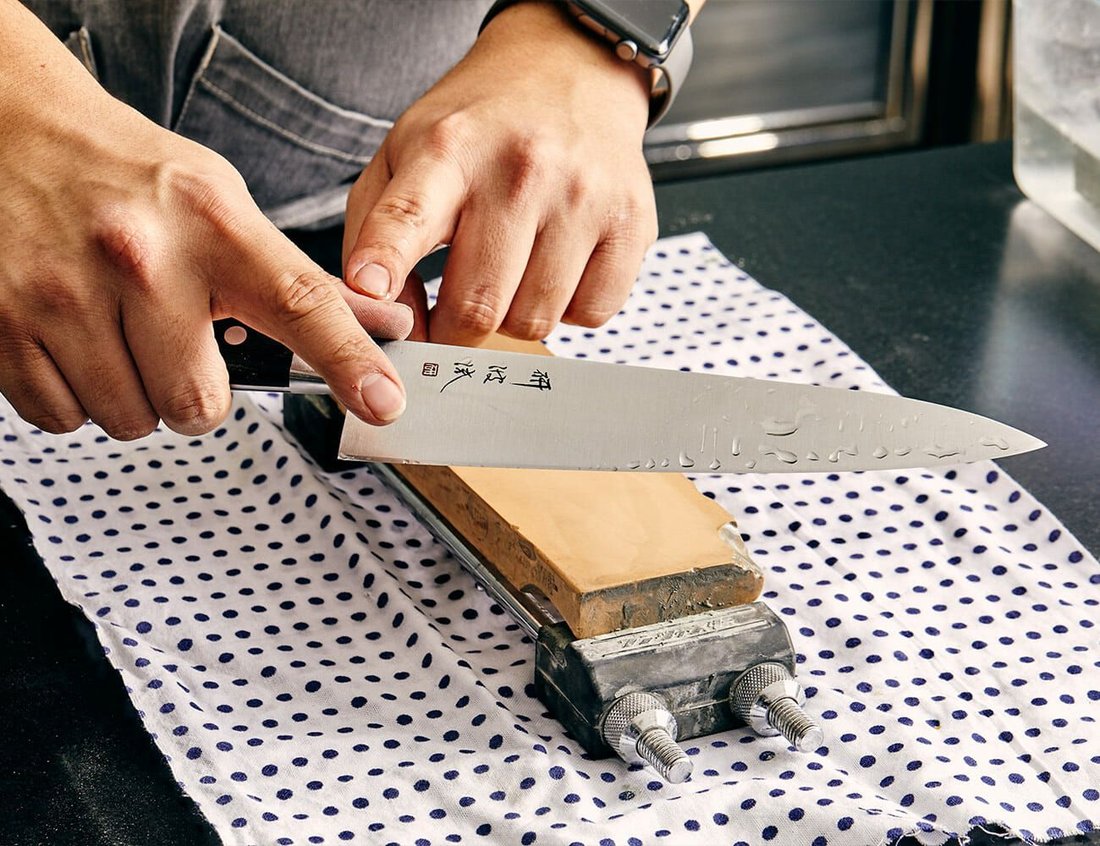
Every knife has an optimal sharpening angle. Japanese knives (e.g., gyuto) typically sharpen at 15 degrees per side for a delicate edge, while Western styles like German chef’s knives prefer 20 degrees for durability. Holding the correct angle is key—imagine balancing a matchbook under the spine for visual aid.
Practice on old knives first. Consistency across the blade prevents uneven wear. Chefs emphasize patience: rushing leads to wavy edges. Use your non-dominant hand to guide the blade, applying light pressure like petting a cat. This foundational knowledge makes sharpening intuitive over time.
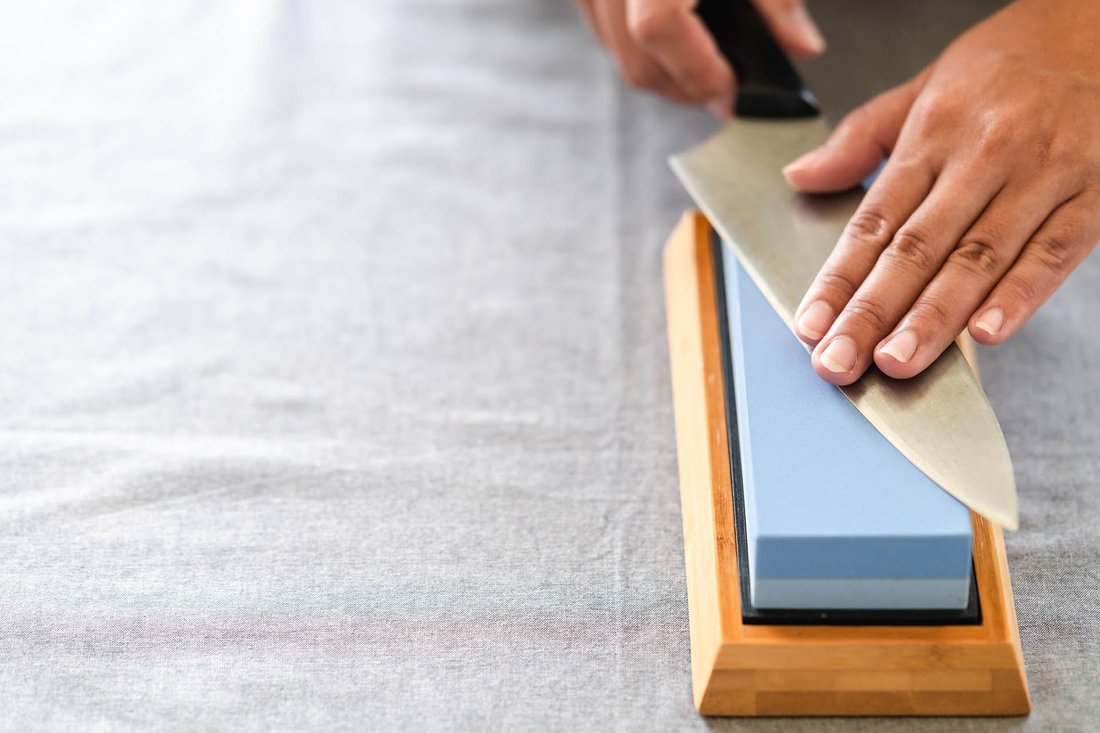
Step-by-Step: Sharpening with a Whetstone Like a Chef
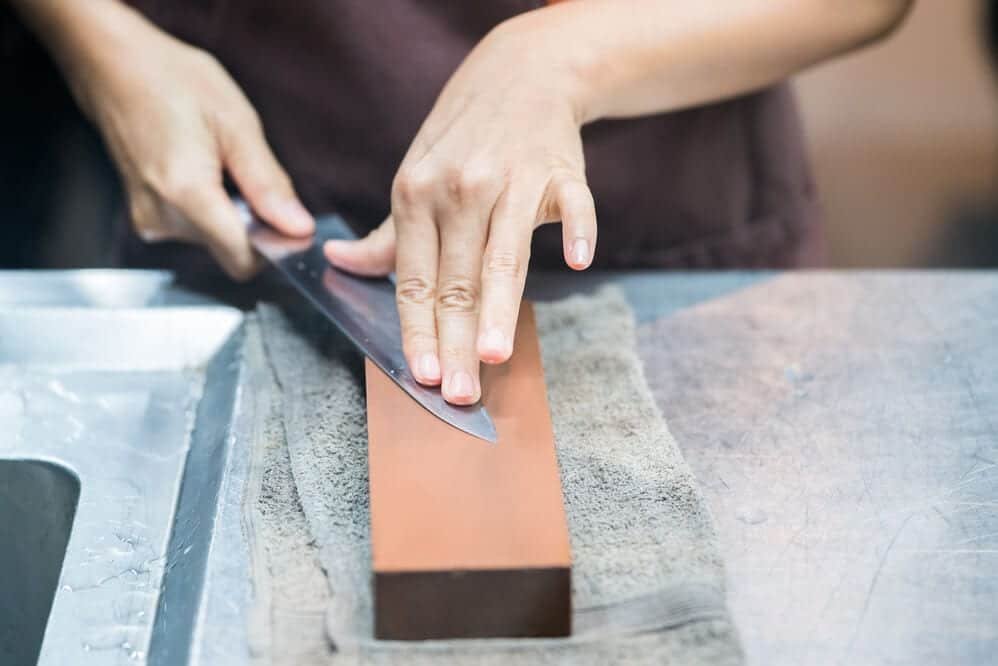
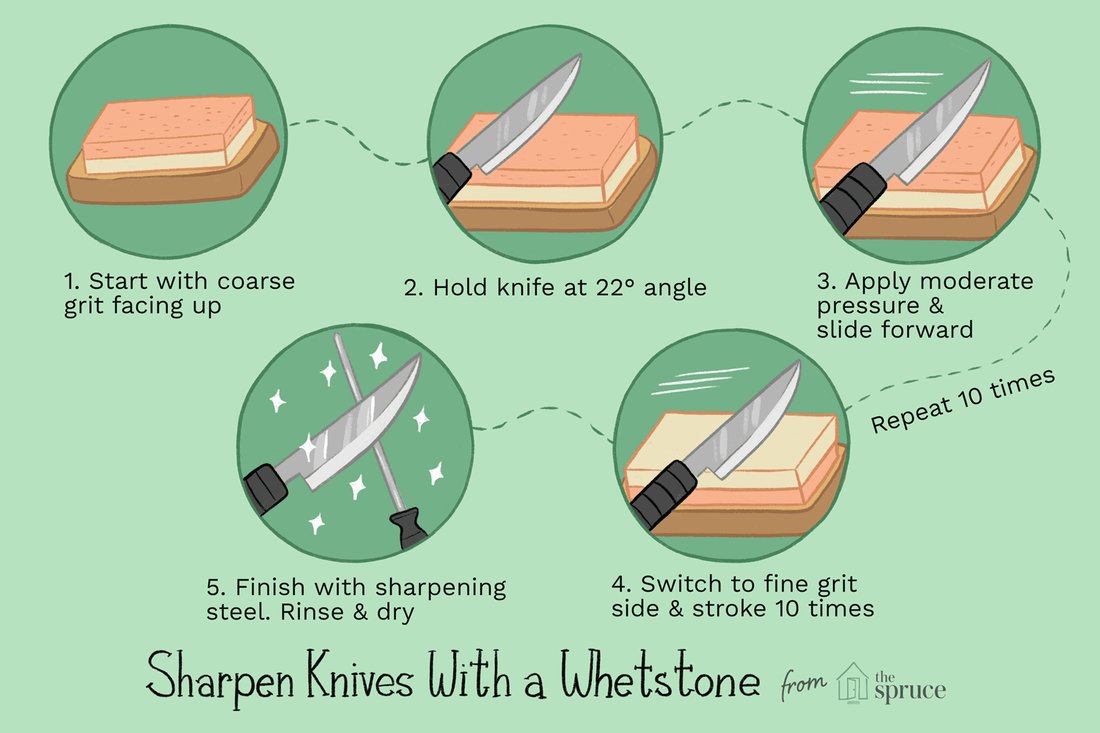
The whetstone method is the chef’s choice for superior results. Place the stone on a stable surface with a towel underneath. Soak as needed, then start with the coarse side (1000 grit).
1. Position the knife at your chosen angle. Place the blade’s edge against the stone, heel leading.
2. Push forward with moderate pressure, moving from heel to tip in a smooth arc. Lift and pull back without pressure on the return stroke.
3. Repeat 10-15 times per side, alternating to form a burr—a slight lip of metal along the edge. Feel it with your fingertip.
4. Flip to the fine grit (6000). Repeat fewer strokes (5-10) to refine the edge.
5. Test sharpness by slicing paper or tomato skin—it should cut cleanly without tearing.
Pro tip: Flatten the stone periodically with the nagura stone or side-to-side strokes. Rinse off metal slurry. This process takes 10-20 minutes and yields edges lasting weeks. Chefs like J. Kenji López-Alt swear by whetstones for their control and finesse.
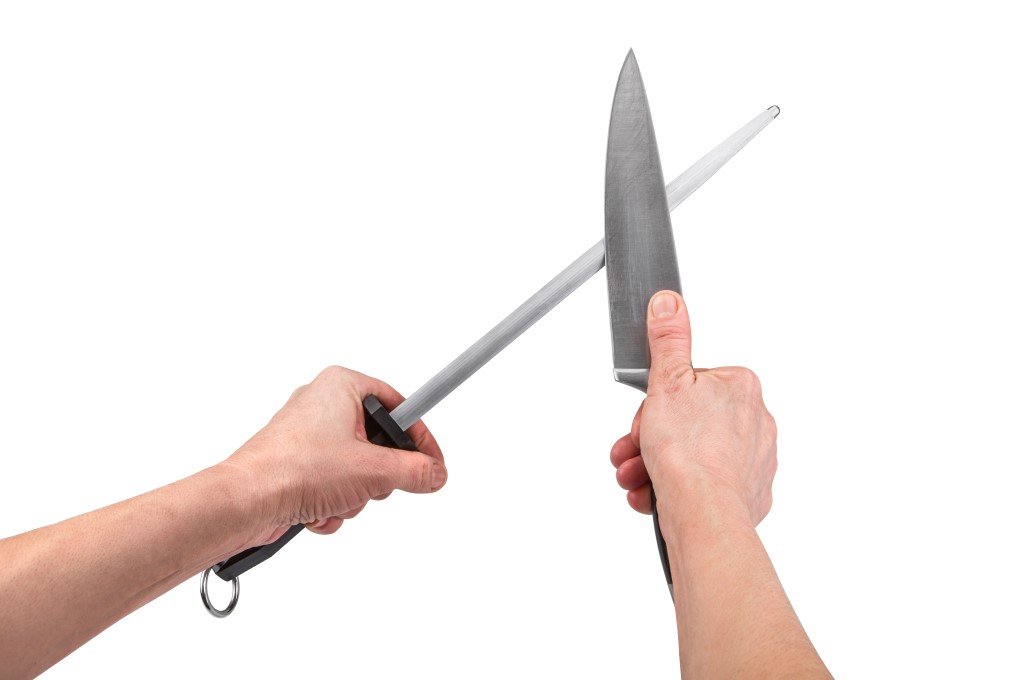
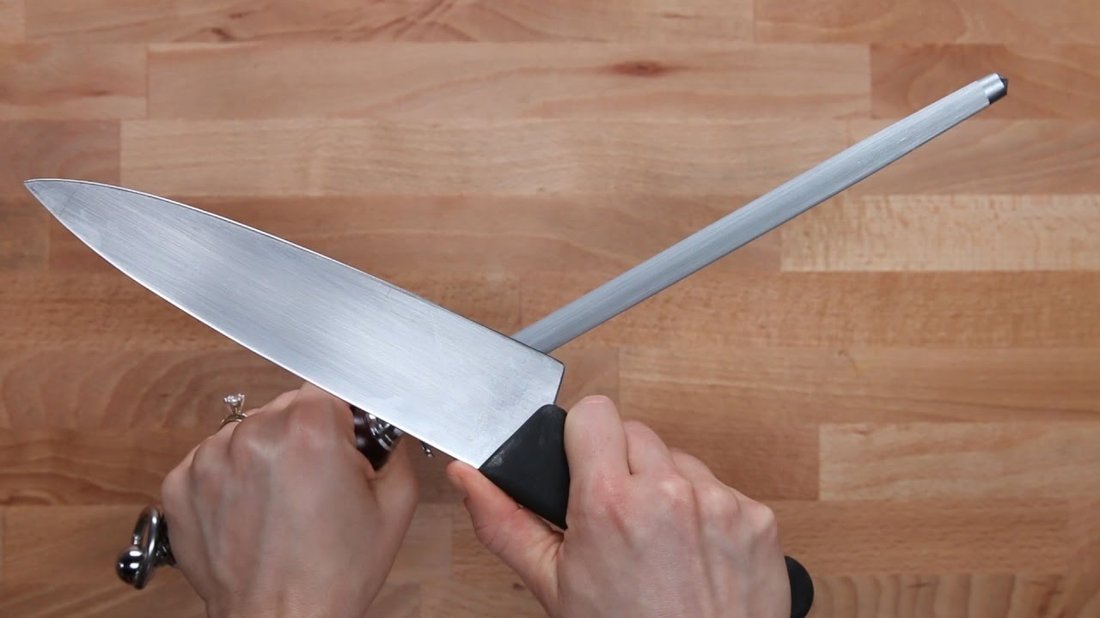
Daily Maintenance: Using a Honing Rod
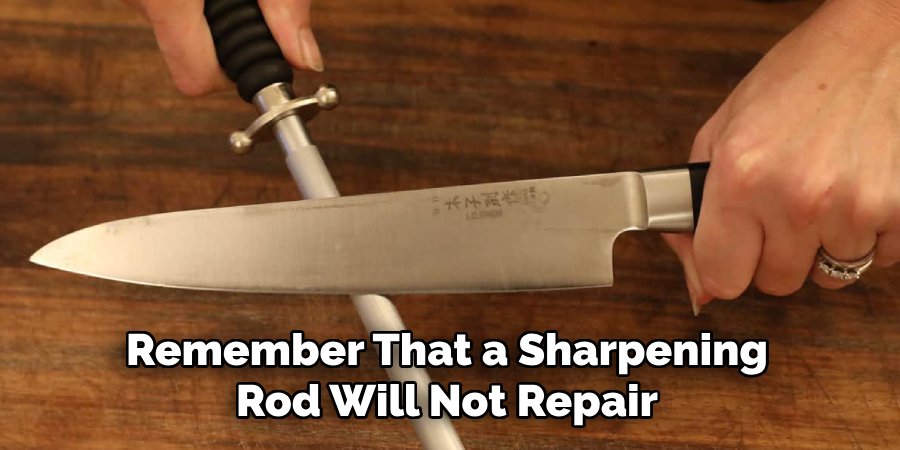
Between sharpenings, hone daily. Hold the rod vertically, tip on a cutting board. Match the knife angle and swipe down gently, 5-8 times per side. Ceramic rods work best for harder steels. Honing realigns the microscopic teeth without grinding away metal, extending sharpness. It’s quick—under a minute—and prevents dulling from normal use.
Electric Sharpeners: Fast Results for Busy Cooks
Not into stones? Electric sharpeners simplify the process. Select a model like the Chef’sChoice Trizor, which handles both edge types. Insert the blade into the slot, pull through slowly 3-4 times per stage (coarse, fine, honing). Angles are preset, eliminating guesswork. Results are sharp but less refined than manual methods. Ideal for high-volume home kitchens.
Pro Chef Tips for Razor-Sharp Knives
Thomas Keller advises sharpening only when needed—test by feeling resistance on paper. Use marker trick: color the edge, sharpen, and check even removal. For serrated knives, use tapered rods or specialized sharpeners. Store knives in blocks or magnetic strips, never drawers. Oil carbon steel blades to prevent rust.
Polish with a leather strop loaded with green chromium oxide compound for mirror finishes. Chefs rotate multiple knives, sharpening one while using others. Practice on cheap blades builds muscle memory. Invest in quality knives (e.g., Wüsthof, Global) that hold edges longer.
Common Mistakes to Avoid When Sharpening Knives
Top pitfalls: inconsistent angles causing chips, excessive pressure dulling faster, or skipping burr formation. Don’t sharpen on plates or sinks—too soft or uneven. Over-sharpening removes too much steel, shortening knife life. Beginners often neglect both sides equally. Always rinse blades post-sharpening to remove debris. Patience is key; rushed jobs lead to frustration.
Ongoing Knife Care and Maintenance
Sharpness is temporary—maintain it. Hand-wash knives, dry immediately. Use cutting boards softer than steel (wood or plastic). Rotate boards to prevent grooves. Schedule sharpenings: weekly for heavy use, monthly otherwise. Track with a calendar. Professional sharpening annually keeps heirloom knives pristine.
For collections, label by last sharpened date. This routine ensures your kitchen arsenal performs like a chef’s.
Conclusion: Master Knife Sharpening Today
Sharpening a kitchen knife like a chef is accessible, rewarding, and transformative. With whetstones, honing rods, and practice, you’ll achieve professional results at home. No more struggling with dull blades or pricey services. Start with basics, refine your technique, and watch your cooking precision soar. Your knives—and your meals—will thank you. Ready to sharpen? Grab your tools and get slicing!
(Word count: 1218)