
How to Create a Perfect Gallery Wall: A Step-by-Step Guide
Introduction to Gallery Walls
Feature Video
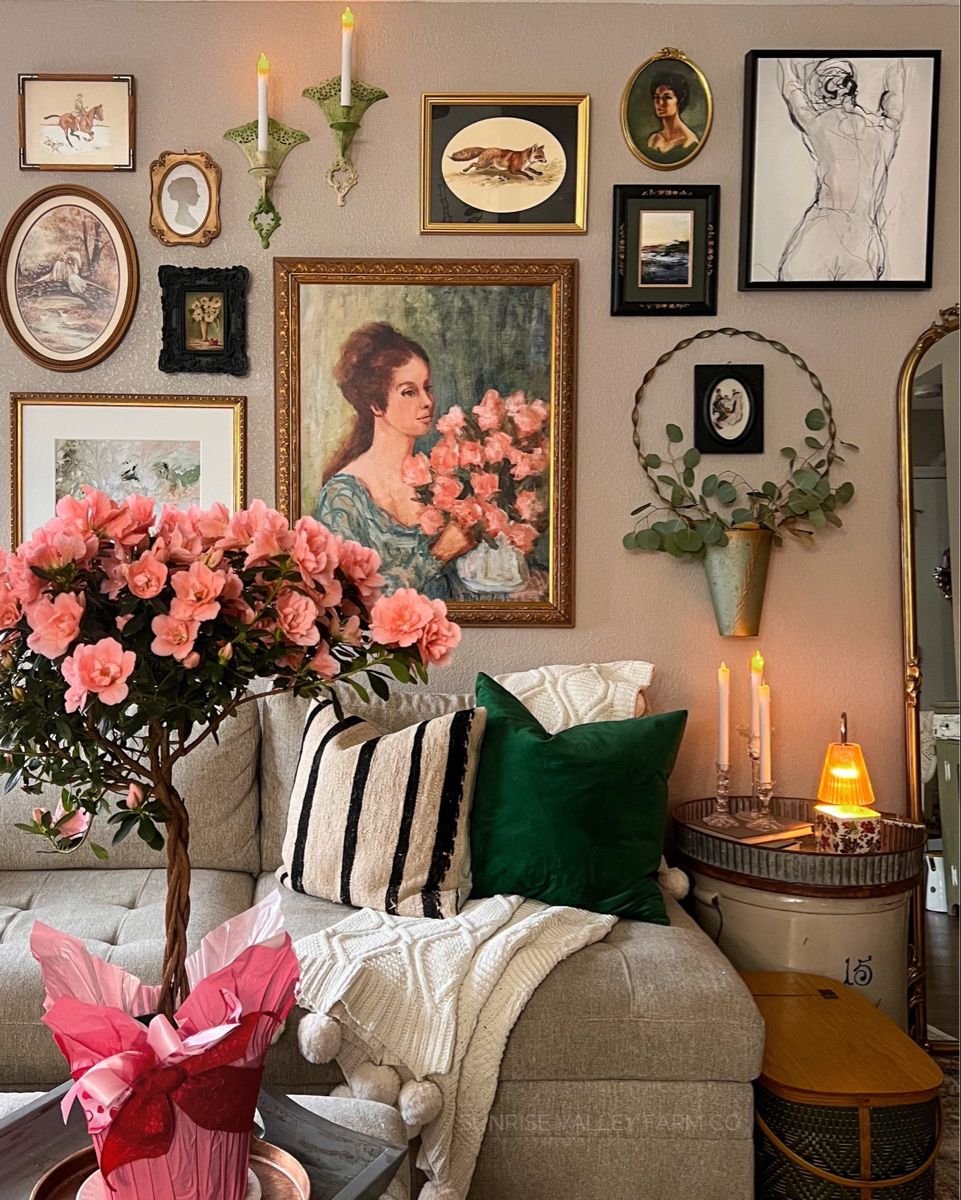
Creating a perfect gallery wall is one of the most effective ways to personalize your home and transform a blank wall into a stunning focal point. A gallery wall is a curated collection of framed artwork, photographs, prints, and memorabilia arranged in an aesthetically pleasing layout. Whether you’re a design enthusiast or a beginner DIYer, learning how to create a gallery wall can elevate your interior decor without breaking the bank. This step-by-step guide will walk you through the entire process, from planning to hanging, ensuring your gallery wall looks professional and cohesive.
Gallery walls are versatile, fitting seamlessly into living rooms, hallways, bedrooms, or even offices. They add personality, tell your story, and can reflect your style—be it eclectic, minimalist, or bohemian. SEO-optimized searches for “how to create a gallery wall” often highlight the importance of balance, scale, and theme. With the right approach, you’ll avoid common pitfalls and achieve a polished look that impresses guests. Let’s dive into the steps to build your dream gallery wall.
Step 1: Plan Your Vision and Theme
The foundation of any perfect gallery wall starts with planning. Begin by deciding on a theme to ensure cohesion. Common themes include family photos, travel souvenirs, black-and-white photography, botanical prints, or abstract art. Ask yourself: What story do I want to tell? For a modern vibe, opt for uniform frames in gold or black. For a relaxed feel, mix woods and metals.
Measure your wall space first. A good rule is to cover about 60-75% of the wall’s width and height for impact without overwhelming the room. Sketch your layout on paper or use apps like ArtPlacer or Framebridge’s virtual tools. Consider the room’s scale—larger walls suit bigger arrangements, while small spaces benefit from salon-style clusters (tightly grouped frames). Budget-wise, allocate for frames, mats, and hardware; thrift stores and online marketplaces like Etsy offer affordable options.
Pro tip: Create a mood board on Pinterest with keywords like “gallery wall ideas living room” to spark inspiration. Planning prevents impulse buys and ensures your gallery wall harmonizes with your furniture and color scheme.
Step 2: Gather and Curate Your Artwork and Frames
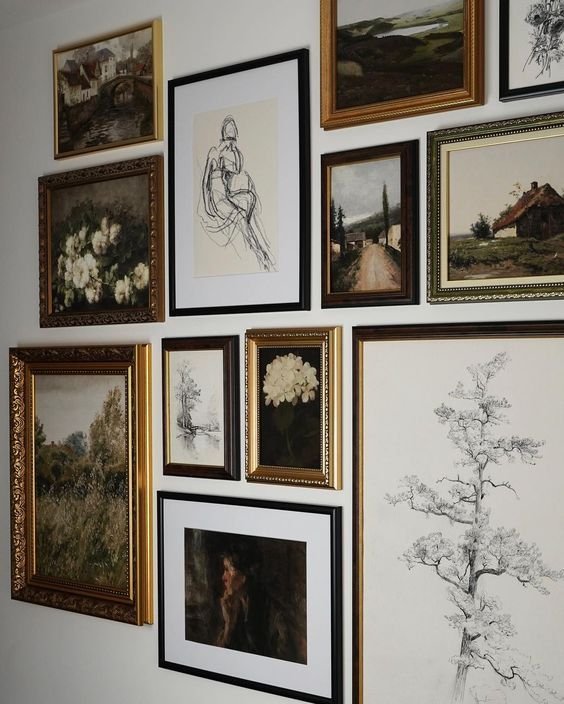
Collecting pieces is the fun part! Aim for 5-15 items depending on wall size. Variety in size, shape, and color keeps it dynamic—mix 8x10s with 11x14s and circular frames. Sources include personal photos printed via Shutterfly, vintage posters from eBay, or custom prints from Society6.
Frame selection is crucial for a professional look. Match frame styles to your theme: sleek metals for contemporary, ornate for vintage. Use mats for smaller pieces to add elegance and uniformity. If mixing frame colors, limit to 2-3 tones. Invest in acid-free mats and UV-protective glass to preserve artwork long-term.
Quantity matters—odd numbers (7, 9, 11) create natural rhythm. Test cohesion by laying items on a bed or table. Discard anything that clashes. This curation step ensures your gallery wall feels intentional, boosting its SEO appeal as a “perfect gallery wall layout.”
Step 3: Select the Perfect Wall and Prepare the Space
Choose a wall with good visibility, like above a sofa or console table. Avoid doors, windows, or high-traffic areas to prevent damage. Ensure it’s structurally sound—stud finders help locate beams for secure hanging.
Prep the wall: Patch holes, clean dust, and paint if needed for a crisp backdrop. Neutral walls (whites, grays) make artwork pop, but bold colors work for dramatic effects. Lighting is key—position near natural light or add picture lights later. For renters, use damage-free hooks like Command strips rated for heavy frames.
Measure twice: Mark the center of your arrangement at eye level (57-60 inches from floor to center). This golden rule from museums ensures perfect proportions.
Step 4: Design and Arrange Your Layout on the Floor
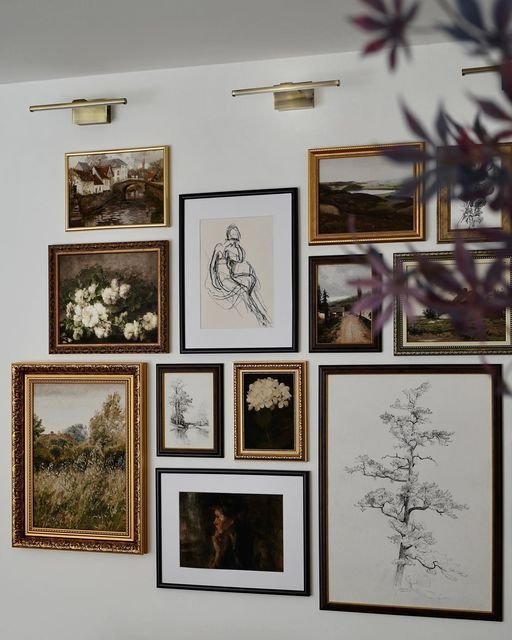
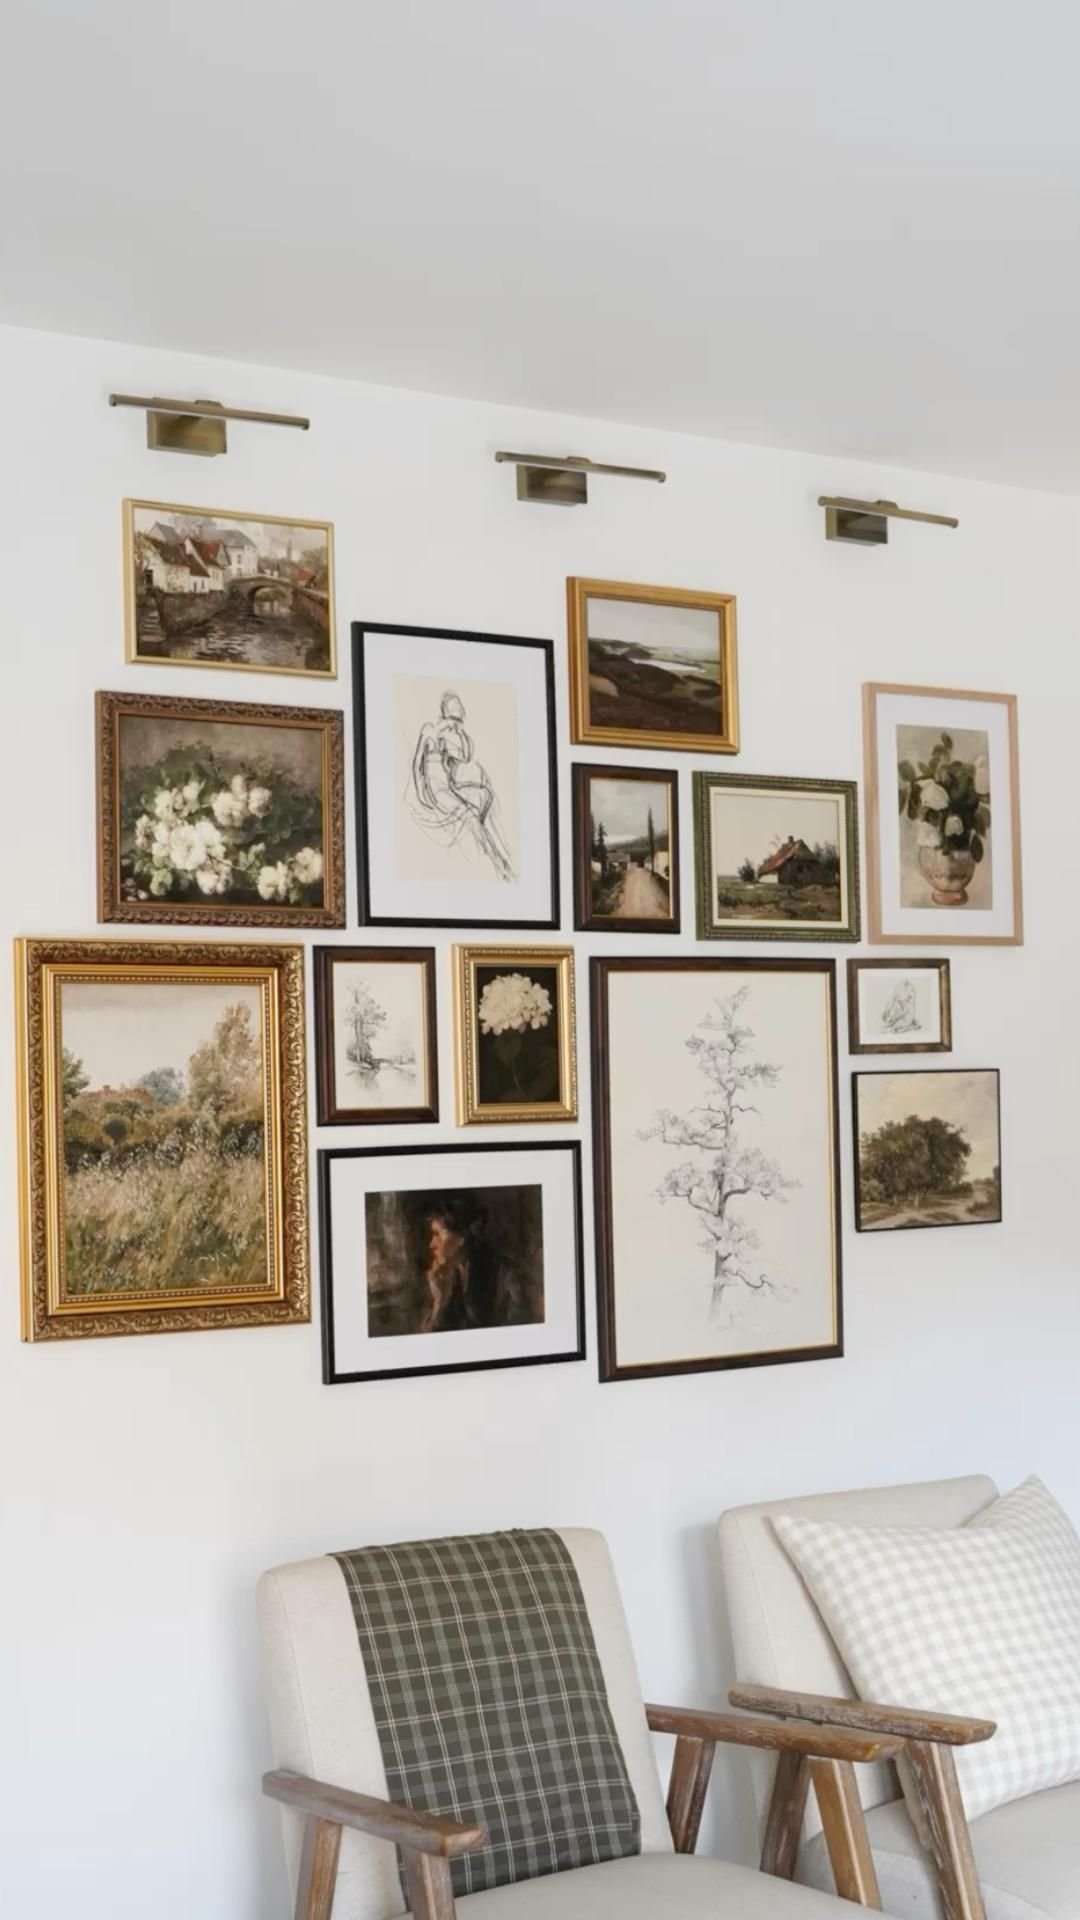
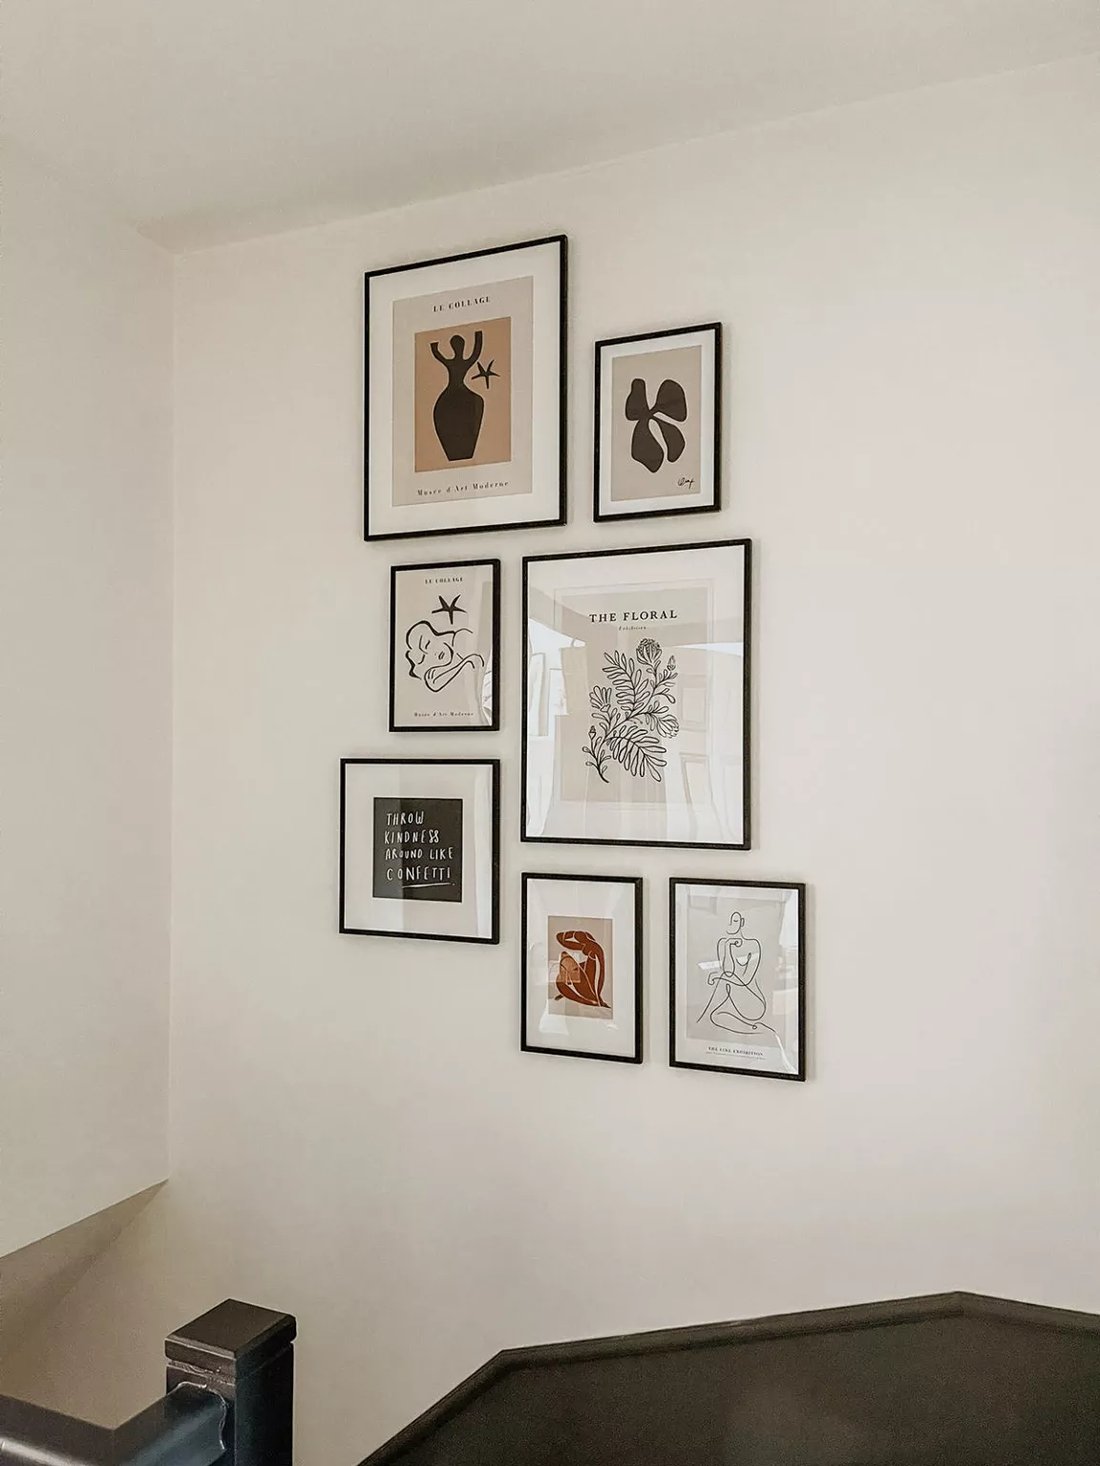
Before hammering, mock up on the floor or kraft paper taped to the wall. Popular layouts include grid (symmetrical rows), linear (horizontal line), or organic (asymmetrical cluster). For beginners, start with a grid: equal spacing of 1-3 inches between frames.
Arrange largest pieces first as anchors, filling gaps with smaller ones. Maintain visual balance—distribute colors and shapes evenly. Step back frequently to assess. Use a ruler or app for precise spacing. Photograph from afar to spot imbalances.
This dry-run saves time and walls. Popular searches like “gallery wall template” often lead to printable guides—trace frames on paper, cut out, and tape up for a foolproof preview.
Step 5: Hang Your Frames Securely
Transfer your layout to the wall using pencil marks or the paper template. Hang in this order: anchors first, then fillers. Use two hooks per frame over 12 inches wide for stability. Level each piece with a bubble tool.
Spacing consistency is non-negotiable—use spacers or measure from edges. For heavy galleries, French cleats or rails offer gallery-style security. Step back after every few frames to check overall harmony.
Tools needed: Hammer, nails/screws, stud finder, level, measuring tape. Patience yields perfection—rushing leads to crooked walls.
Step 6: Add Lighting, Styling, and Finishing Touches
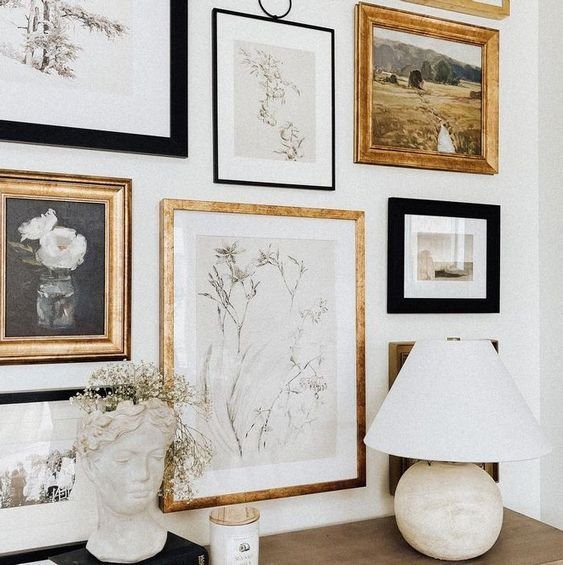
Elevate with lighting: LED strips, spotlights, or clip-on lamps highlight textures. Style around it—add shelves for 3D elements like sculptures or plants amid frames.
Seasonal swaps keep it fresh; store extras safely. Vacuum frames regularly and dust artwork gently. For longevity, rotate pieces to avoid sun fade.
Your gallery wall is now complete—a personalized masterpiece!
Common Mistakes to Avoid When Creating a Gallery Wall
Avoid overcrowding; less is more for impact. Ignoring scale makes pieces look lost—match to furniture height. Uneven spacing or levels scream amateur. Skipping planning leads to mismatched themes. Don’t hang too high; eye-level viewing is best. Overlooking wall prep causes bubbling paint later.
Budget pitfalls: Cheap frames warp. Fix by prioritizing quality over quantity.
Tips for Gallery Walls in Different Rooms
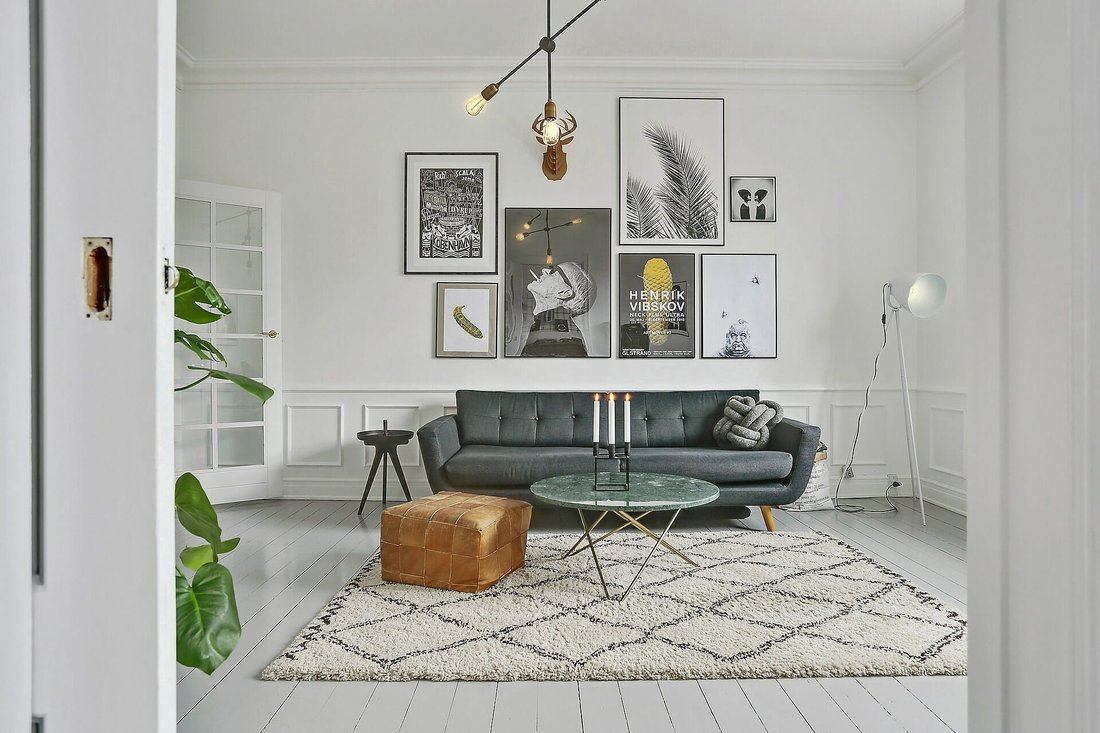
Living room: Large, bold pieces over sofas. Bedroom: Intimate photos in soft tones. Kitchen: Waterproof prints, food themes. Hallway: Vertical layouts to draw eyes up. Kids’ room: Playful, changeable frames.
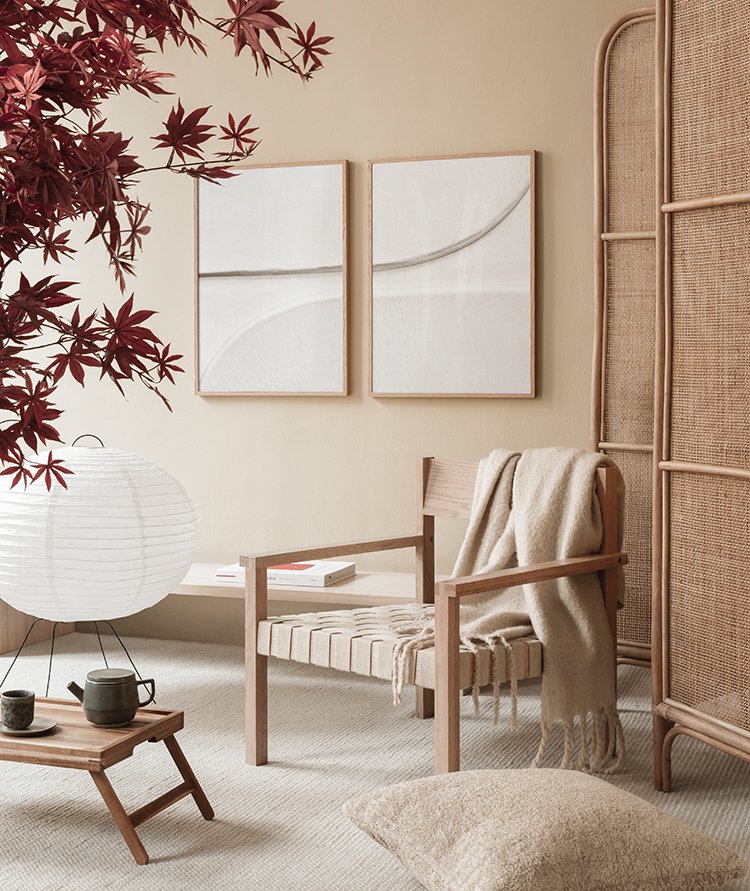
Styles: Minimalist (uniform whites), Bohemian (mix textures), Farmhouse (rustics and signs).
Conclusion: Your Perfect Gallery Wall Awaits
Mastering how to create a perfect gallery wall transforms spaces effortlessly. Follow these steps—plan, curate, layout, hang, style—and enjoy a custom display. It’s therapeutic, affordable, and endlessly customizable. Start small, experiment boldly. Your home deserves this touch of art. Search “gallery wall inspiration” for more ideas and share your creation!
(Word count: 1215)