
The Art of Making Perfect Sourdough Bread at Home
Introduction to Sourdough Bread Making
Feature Video
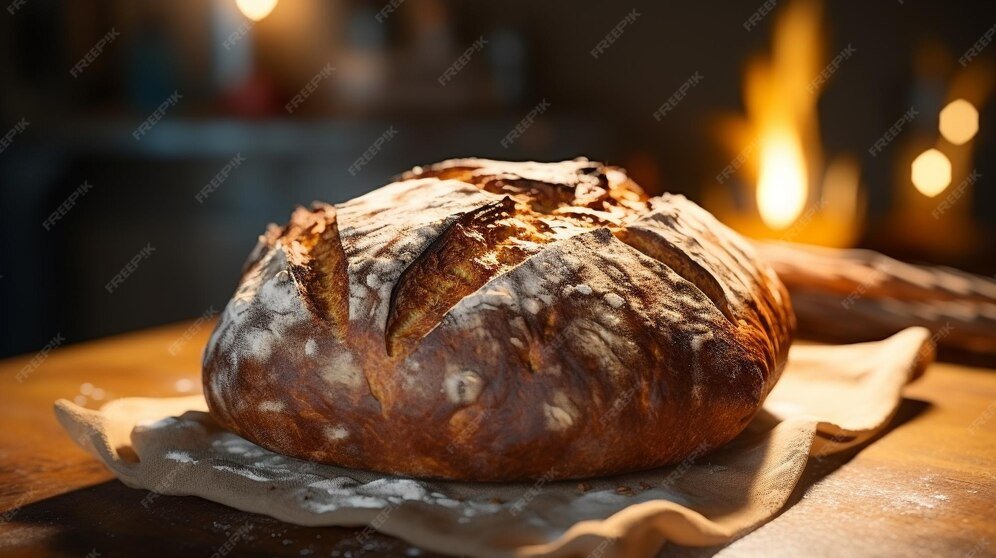
Mastering the art of making perfect sourdough bread at home is a rewarding journey that combines science, patience, and a touch of culinary magic. Sourdough bread, with its tangy flavor, chewy crumb, and crisp crust, has surged in popularity thanks to the pandemic baking boom and a growing appreciation for artisan baking. Unlike commercial yeast breads, sourdough relies on a natural leavening agent—a live culture of wild yeast and lactic acid bacteria known as a sourdough starter. This process not only imparts unique flavors but also makes the bread more digestible and nutritious.
If you’re searching for a reliable sourdough bread recipe or tips on how to make sourdough bread at home, you’ve come to the right place. This comprehensive guide will walk you through every step, from creating your starter to baking that coveted boule with an open crumb and golden crust. With practice, you’ll achieve bakery-quality results in your own kitchen. Expect to invest time—typically 7-10 days for the starter and 24-48 hours per loaf—but the results are worth it. Keywords like “perfect sourdough bread” and “homemade sourdough” are your ticket to baking success.
Understanding Sourdough: The Basics
Sourdough bread dates back thousands of years, predating commercial yeast. It’s made by fermenting dough with a starter cultivated from flour and water, capturing wild yeasts from the air and flour. This slow fermentation develops complex flavors: acetic acid for tanginess, lactic acid for creaminess, and ethanol for subtle fruitiness. Nutritionally, sourdough lowers the glycemic index, improves mineral bioavailability, and may aid gut health due to prebiotic properties.
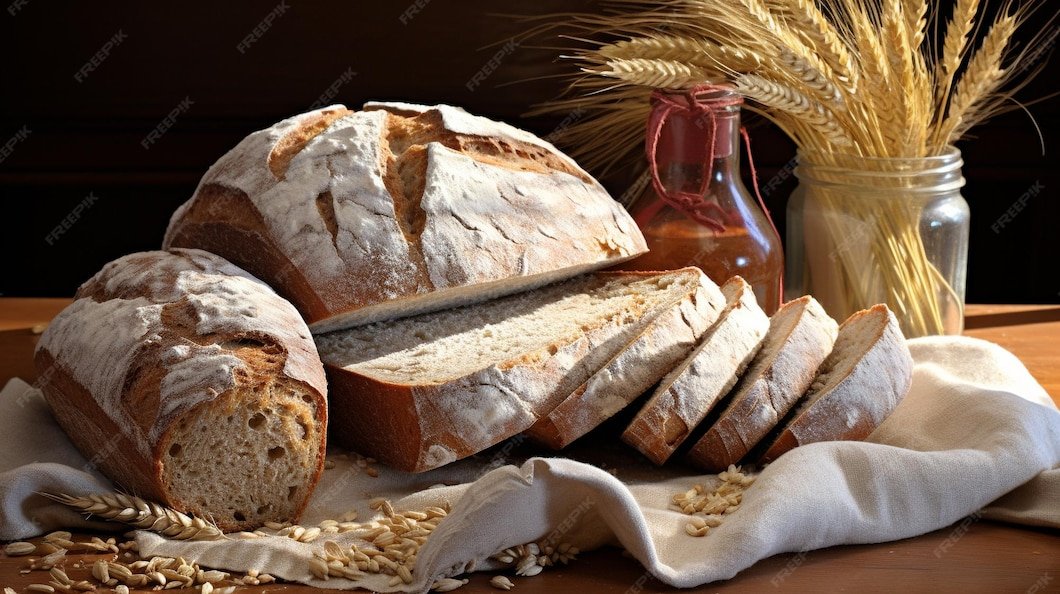
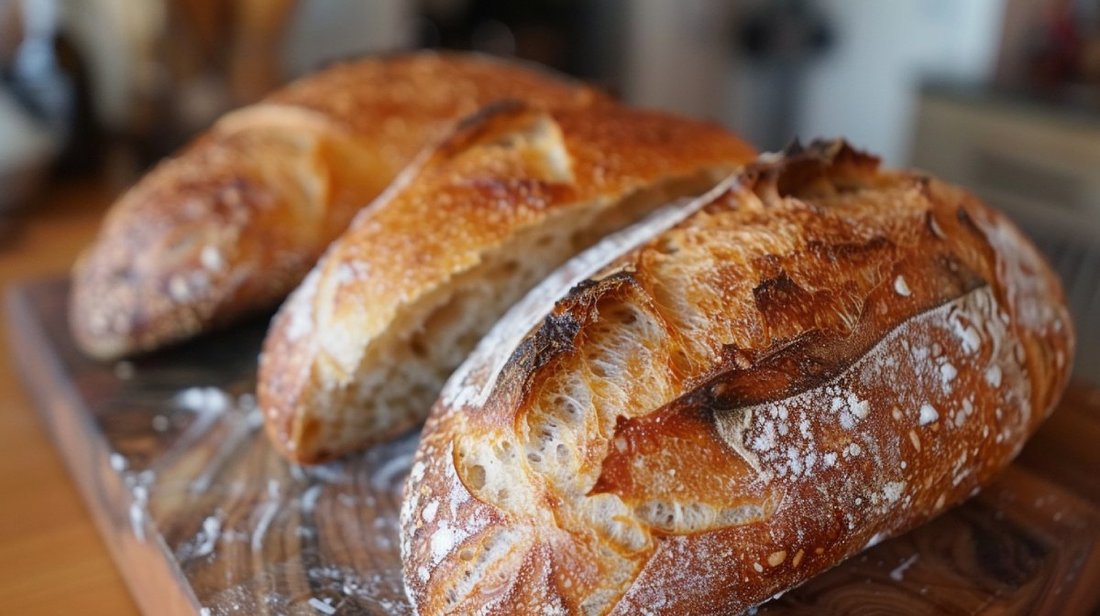
The hallmark of perfect sourdough is its structure: a crusty exterior from high hydration and oven spring, and an airy interior with irregular holes called an “open crumb.” Achieving this requires balancing hydration (typically 70-80%), temperature, and timing. Tools like a Dutch oven trap steam for that professional bake. For beginners, start with a simple sourdough starter recipe and scale up.
Creating Your Own Sourdough Starter
The foundation of any great sourdough bread is a healthy, active starter. Here’s how to make one from scratch:
Day 1-3: Initial Mix In a clean glass jar, combine 50g whole wheat flour and 50g water (filtered, room temperature). Stir into a thick paste, cover loosely with a lid or cloth, and store at 70-75°F (21-24°C). Bubbles may appear by day 3.
Day 4-7: Daily Feedings Discard all but 50g starter, then add 50g flour (switch to all-purpose or bread flour) and 50g water. Mark the level with a rubber band. It should double in size within 4-8 hours. If not, continue feeding twice daily.
Day 7+: Maturity Test When it doubles reliably, floats in water, and smells pleasantly tangy (not vinegary), it’s ready. Maintain by feeding weekly if refrigerated or daily at room temp. A ripe starter (bubbly, domed) is key for perfect sourdough bread at home.
This process takes patience but yields endless loaves. Pro tip: Use rye flour initially for faster activation.
Essential Ingredients for Sourdough Bread
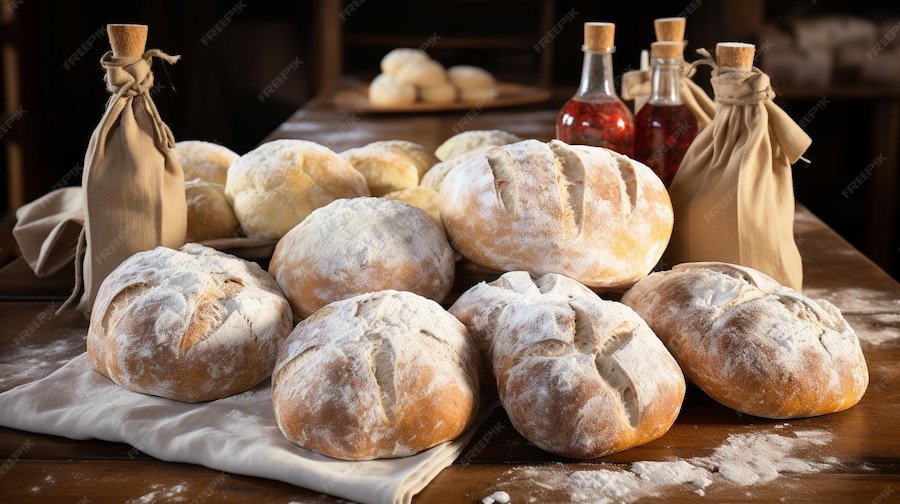
Quality ingredients elevate your sourdough. Core components include:
- Active Sourdough Starter: 100g (20% of flour weight), fed 4-8 hours prior.
- Flour: 500g bread flour (12-14% protein) for structure; mix in 10-20% whole wheat for flavor.
- Water: 350-400g (70-80% hydration); use filtered to avoid chlorine inhibiting yeast.
- Salt: 10g (2%); sea salt or kosher, added later to control fermentation.
Optional additions: 50g honey for subtle sweetness, seeds, or olives for variety. Avoid additives; purity is sourdough’s charm. For SEO enthusiasts, searching “best sourdough bread recipe” often leads here—simple, scalable formulas win.
Step-by-Step Sourdough Bread Recipe
Now, the magic: baking your first loaf. This recipe yields one 900g boule, ready in 24-36 hours.
1. Autolyse (30-60 min) Mix 500g flour and 350g water until no dry bits. Rest covered. This hydrates gluten without starter, improving extensibility.
2. Add Starter and Salt (Bulk Fermentation, 4-6 hours) Incorporate 100g starter and 10g salt. Perform stretch-and-folds every 30 min for first 2 hours: grab dough edge, stretch up, fold over center. Repeat 4-6 times per side. Let rise at 75°F until 50-75% increase, bubbly on surface.
3. Shape (Cold Proof, 12-24 hours) Pre-shape into ball on lightly floured surface, rest 20 min. Final shape: flip seam-up, fold edges to center, flip, drag to tension surface. Place seam-up in floured banneton. Refrigerate overnight for flavor development.
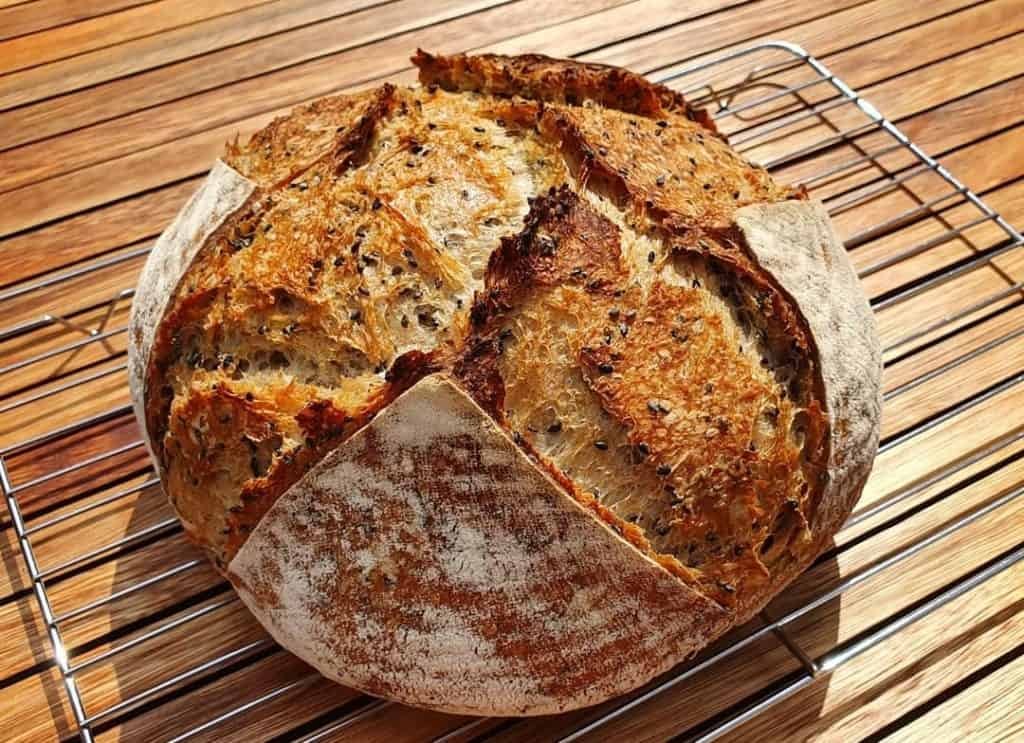
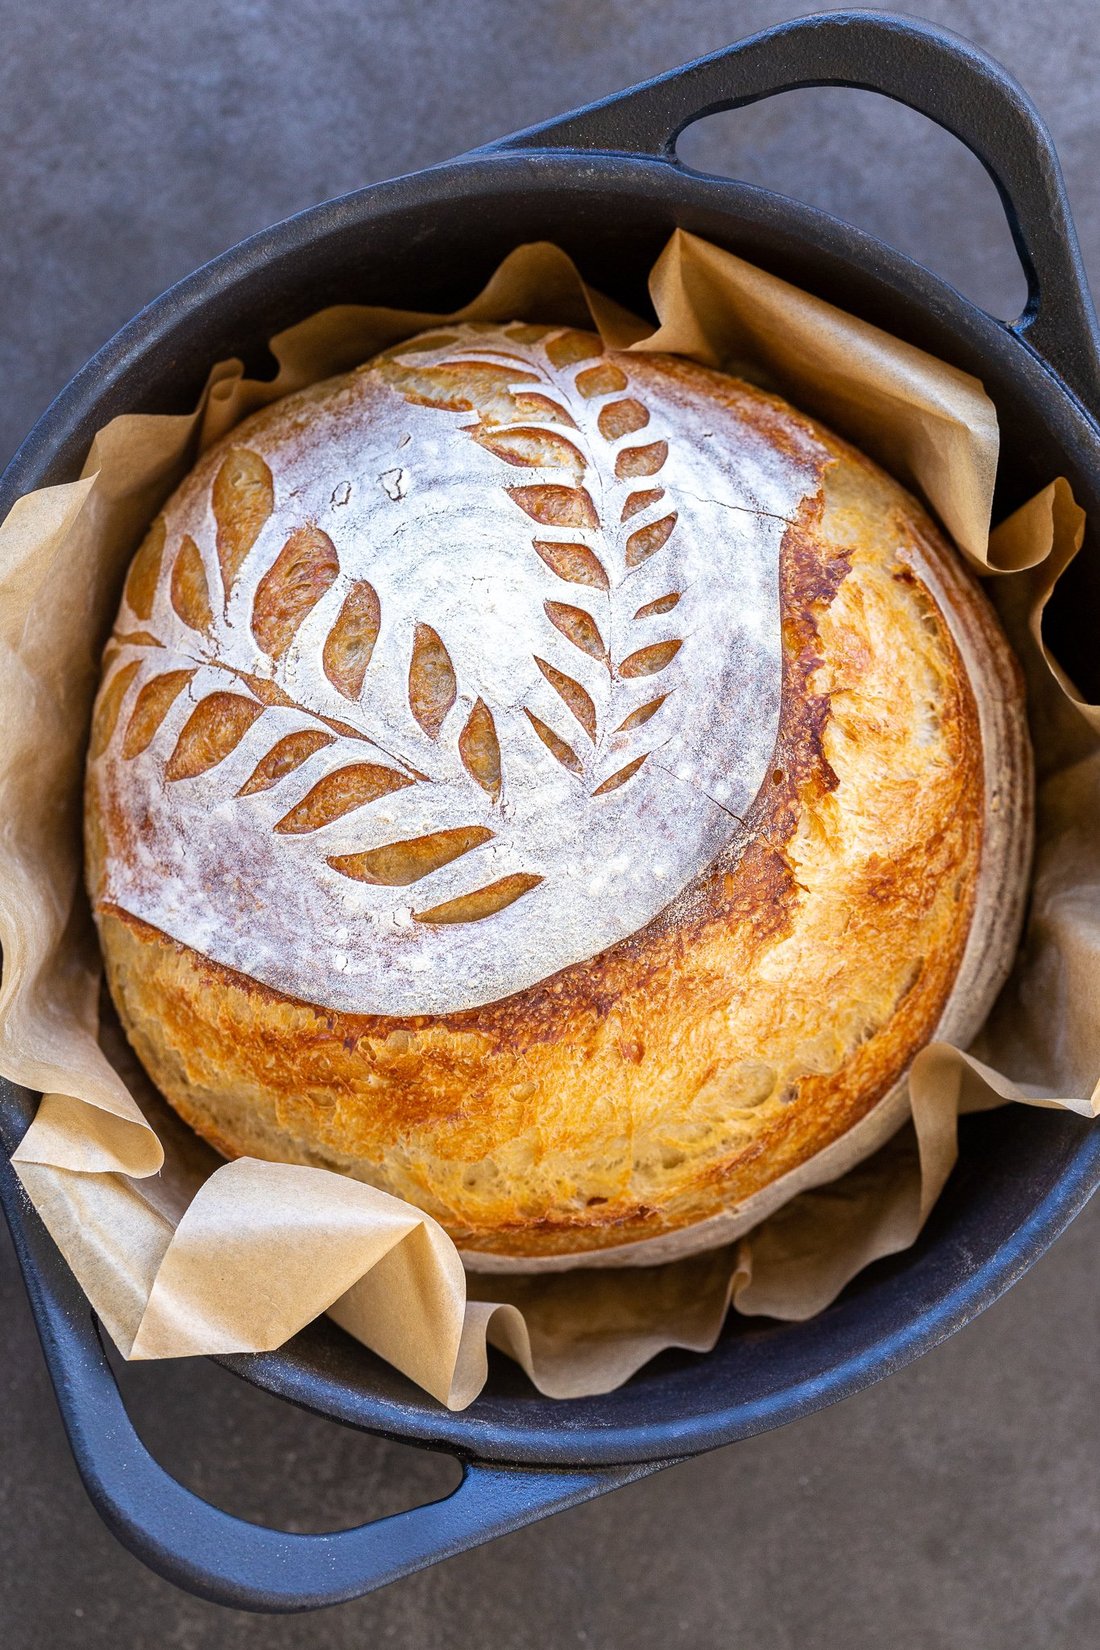
4. Bake (45-60 min) Preheat Dutch oven to 500°F (260°C). Score loaf with lame or knife. Bake covered 20 min at 450°F (230°C), uncover, bake 25-35 min until 205-210°F internal temp, deep mahogany crust.
Cool 2 hours minimum. Slice to reveal that perfect open crumb. This homemade sourdough bread recipe is foolproof with practice.
Tips for Achieving Bakery-Quality Sourdough
Elevate your game with these pro tips:
- Temperature Control: Use a proofing box or warm spot; cooler slows for better flavor.
- Hydration Tweaks: Start at 70%, increase as skill grows.
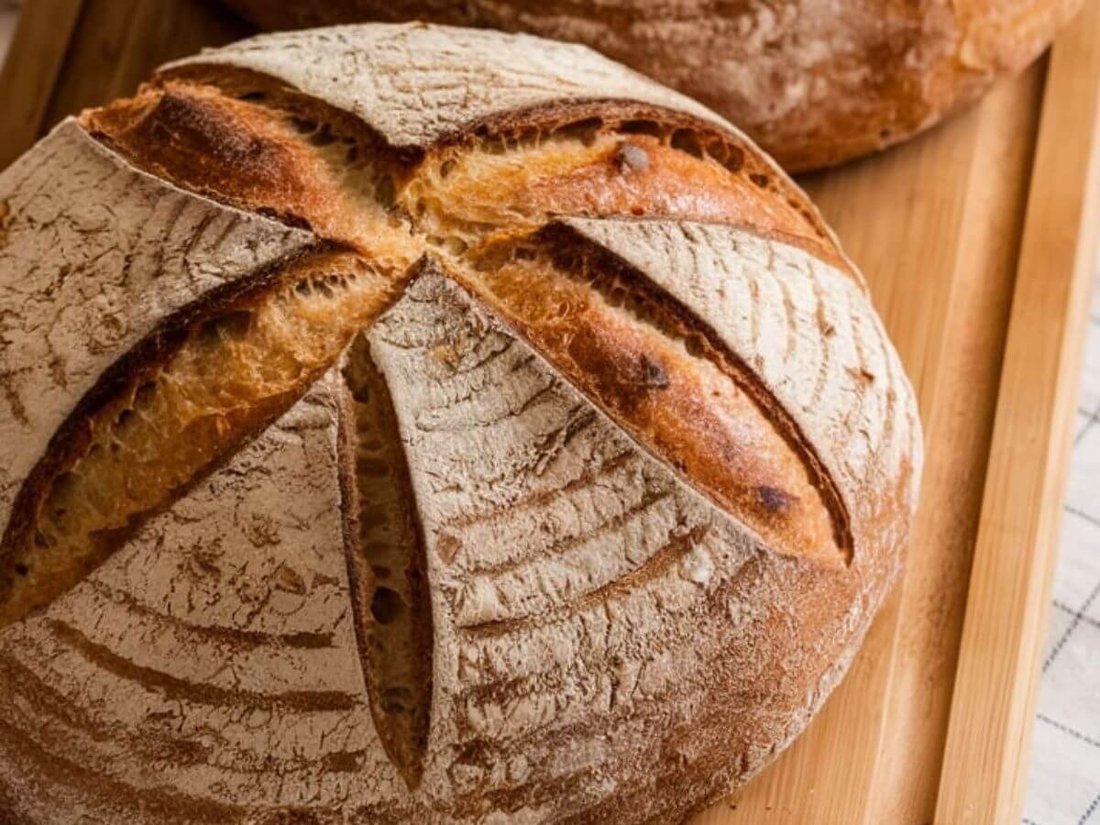
- Scoring Mastery: Deep cuts (1/4-1/2 inch) allow expansion.
- Steam is Key: Dutch oven or lava rocks mimic steam ovens.
- Flour Choices: High-protein flours like King Arthur Bread Flour excel.
Track variables in a journal. For variations, try olive oil focaccia or seeded rye sourdough.
Common Mistakes and Troubleshooting
Avoid pitfalls for consistent success:
- Dense Crumb: Underproofed or weak starter—extend fermentation, ensure doubling.
- Flat Loaf: Overproofed—cold proof longer next time.
- Gummy Interior: Insufficient bake—use thermometer.
- No Oven Spring: Weak gluten—more folds or autolyse.
Troubleshoot by smell (acetone = hungry starter) and poke test (slow spring back = ready). Patience fixes most issues.
Storing and Enjoying Your Sourdough
Store cut-side down on board up to 3 days; freeze slices for toast. Revive stale bread by spritzing and oven-warming. Pair with butter, avocado, or cheese. Share your bakes on social media with #SourdoughHomeBaker.
Mastering sourdough bread at home transforms hobbyists into artisans. With this guide, you’re equipped for perfection. Happy baking!