
How to Get Verified on Instagram with Meta Verified: A Complete Step-by-Step Guide
How to Get Verified on Instagram with Meta Verified: A Complete Step-by-Step Guide
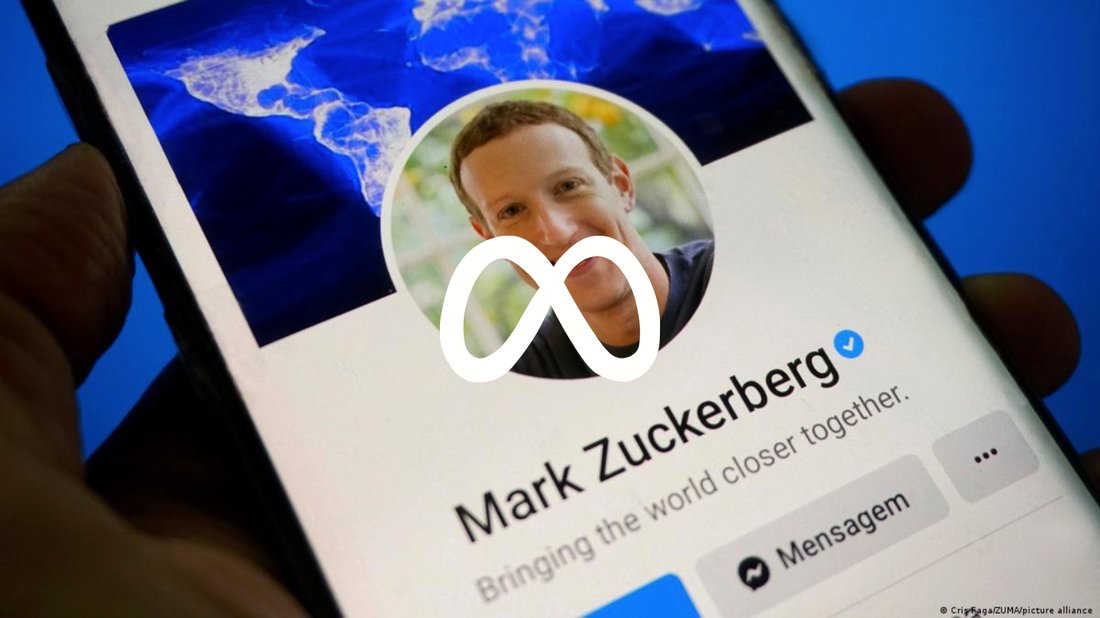
In the fast-paced world of social media, Instagram verification is a golden ticket to credibility and visibility. That coveted blue checkmark next to your username signals authenticity, helping you stand out amid millions of accounts. But how do you get verified on Instagram? Enter Meta Verified, Meta’s official subscription service that simplifies the process for individuals and businesses alike. Launched in 2023, Meta Verified offers a straightforward path to the blue badge on Instagram, Facebook, and WhatsApp—for a monthly fee.
This comprehensive guide will walk you through everything you need to know about getting verified on Instagram with Meta Verified. From eligibility criteria and application steps to benefits, tips, and common pitfalls, we’ve got you covered. Whether you’re a content creator, influencer, brand, or entrepreneur, unlocking Instagram verification can boost your profile’s trustworthiness and reach. Let’s dive into how to get verified on Instagram today.
What is Meta Verified and How Does It Differ from Traditional Verification?
Feature Video
Meta Verified is a paid subscription service introduced by Meta (Instagram’s parent company) to provide proactive account protection, exclusive features, and the prestigious blue verification badge. Unlike the legacy Instagram verification process—which was free but notoriously selective and based on “notability” criteria—Meta Verified democratizes access. Anyone meeting basic requirements can apply, making it easier to get verified on Instagram without waiting for editorial approval.
Traditional verification required proving public prominence, like being a celebrity or major brand, through extensive documentation. Rejections were common, and the process could take months. Meta Verified flips the script: subscribe via the app, verify your identity with a government-issued ID, and get reviewed quickly. Pricing starts at $14.99 per month on the web or $11.99 on mobile (prices vary by region), with annual options for savings. It’s available in select countries like the US, Australia, New Zealand, and expanding globally.
The blue checkmark from Meta Verified is identical to legacy badges, ensuring no visual distinction. This shift has sparked debate—some purists miss the exclusivity—but for most users, it’s a game-changer in how to get verified on Instagram efficiently.
Who is Eligible for Meta Verified on Instagram?
Not everyone can snag that blue tick instantly. Meta has clear eligibility rules to maintain platform integrity. To qualify for Meta Verified on Instagram:
- Your account must represent a real person, brand, or organization—no fan pages, memes, or duplicates.
- Be at least 18 years old.
- Have a profile photo, two-factor authentication enabled, and be in good standing (no policy violations).
- Reside in a supported country (check Instagram’s help center for the latest list).
- Comply with Instagram’s Terms of Use and Community Guidelines.
For businesses, ensure your page is categorized correctly and active. Meta Verified isn’t available for all account types yet, like some creator or business profiles in beta regions. If you’re ineligible, focus on organic growth first—building followers and engagement can pave the way later. Pro tip: Use Instagram Insights to confirm your account’s health before applying.
Step-by-Step Guide: How to Get Verified on Instagram with Meta Verified

Ready to apply? Follow these detailed steps to get verified on Instagram seamlessly. The process is app-based and takes about 5-10 minutes initially, with review in days.
Step 1: Update Your Profile
Ensure your Instagram bio is complete, with a recognizable profile picture and link to your website or other verified socials. Authenticity is key—Meta checks for consistency.
Step 2: Access Meta Verified Settings
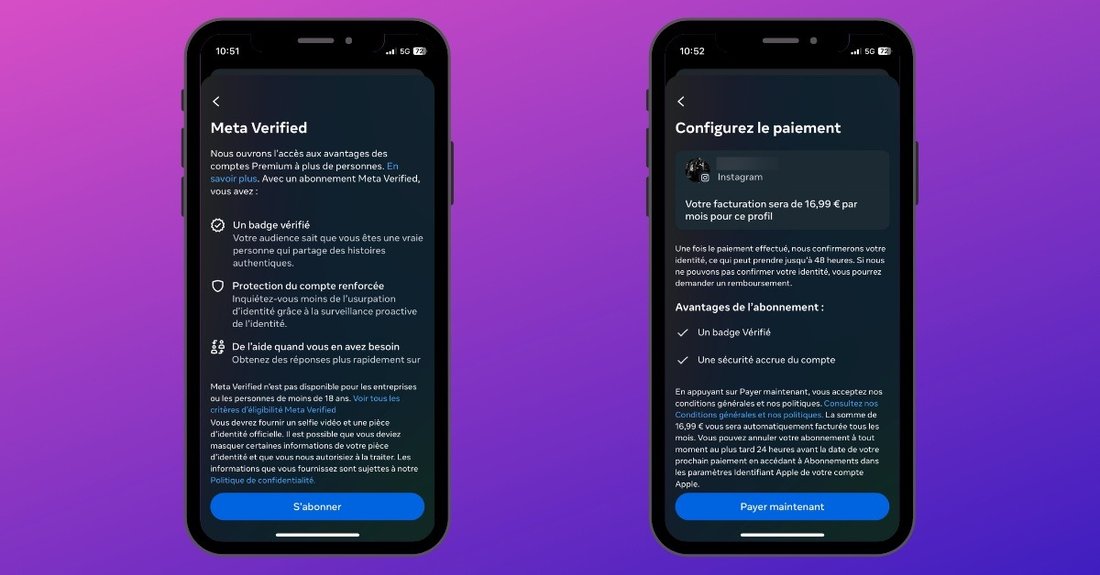
Open the Instagram app on your iOS or Android device (web subscriptions are possible but redirect to app). Tap your profile icon (bottom right), then the three lines (top right) > Settings and privacy > Accounts Center > Meta Verified.
Step 3: Start the Subscription
If eligible, you’ll see an “Apply Now” or “Subscribe” button. Select Instagram (you can bundle with Facebook/WhatsApp). Review pricing—monthly or annual—and choose your payment method (credit card, PayPal, etc.).
Step 4: Verify Your Identity
Upload a government-issued photo ID (passport, driver’s license). Take a video selfie for facial matching. Meta uses AI and human review for security—no sharing ID details beyond verification.
Step 5: Submit for Review
Agree to terms and submit. You’ll get a confirmation email. Meta reviews within 48 hours typically, faster than old methods. If approved, your blue badge appears instantly—renew monthly to keep it.
Step 6: Manage Your Subscription
In Accounts Center, view status, upgrade, or cancel anytime. Pausing? The badge vanishes until reactivation.
This process is the most reliable way to get verified on Instagram with Meta Verified, bypassing waitlists.
Key Benefits of Meta Verified for Your Instagram Account
Why pay for verification? Meta Verified packs value beyond the badge:
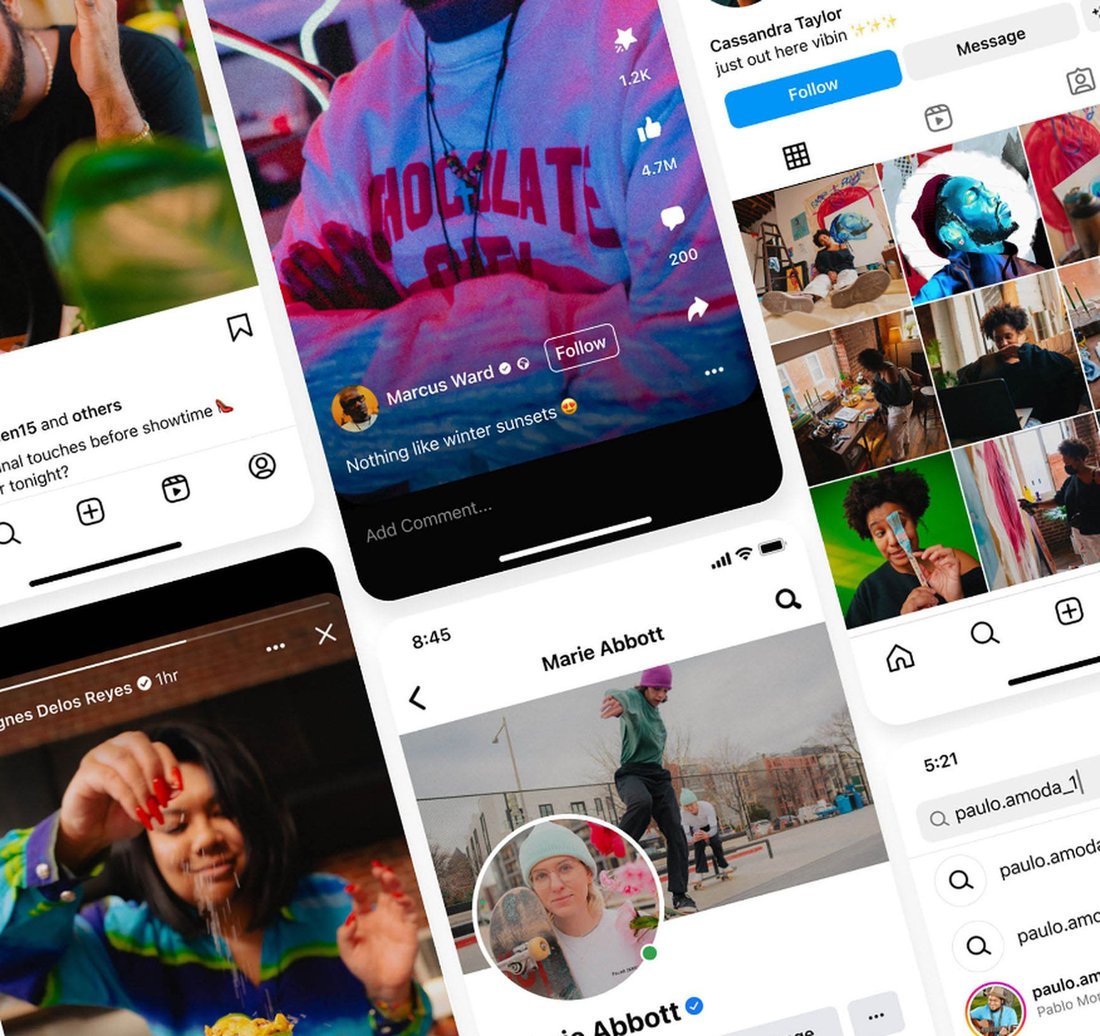
- Blue Checkmark: Instant authenticity boosts trust, profile visits, and partnerships.
- Proactive Protection: 24/7 monitoring against impersonators, with quick takedowns.
- Exclusive Features: Increased Reels visibility, direct customer support, and stickers/badges for Stories.
- Cross-Platform Perks: Verify on multiple Meta apps with one sub.
- SEO Boost: Verified accounts rank higher in searches, aiding discoverability.
Users report 20-30% engagement spikes post-verification. For brands, it’s ROI-positive via enhanced credibility.
Tips and Best Practices to Get Approved Quickly
Approval isn’t guaranteed—here’s how to maximize chances:
- Optimize Pre-Application: Post consistently (3-5x/week), engage followers, avoid spammy behavior.
- Choose the Right ID: Use a clear, unexpired document matching your profile name.
- Be Patient and Honest: No fake info—Meta cross-checks public records.
- Grow Organically First: Aim for 1K+ followers; verified micros still shine.
- Appeal Rejections: If denied, wait 30 days, fix issues, reapply via support.
- Bundle for Savings: Verify Facebook too for broader protection.
Track trends: Meta expands eligibility, so stay updated via @creators or blog.meta.com.
Common Mistakes to Avoid When Applying for Meta Verified

Pitfalls can derail your efforts:
- Ignoring eligibility—rushed apps get rejected.
- Poor ID quality—blurry photos fail matching.
- Policy violations—recent strikes pause eligibility.
- Forgetting renewal—lapses remove the badge.
- Expecting free—Meta Verified is subscription-only now.
If ineligible, alternatives like legacy appeals exist but are rare. Focus on content quality for natural growth.
Troubleshooting Meta Verified Issues on Instagram
Badge not showing? Check subscription status in Accounts Center. ID rejected? Retake selfie in good light. Contact support via app (verified users get priority). For regional blocks, use VPN cautiously—violates terms.
Is Meta Verified Worth It for Getting Verified on Instagram?
For serious users, absolutely. At ~$12-15/month, it’s cheaper than agencies charging thousands for verification help. ROI comes from protection and perks. Casual users? Skip unless impersonation risks loom.
In conclusion, Meta Verified streamlines how to get verified on Instagram, offering reliability over lottery-like old processes. Follow our steps, meet criteria, and watch your profile soar. Start today—authenticity awaits!
(Word count: 1,248)