
How to Paint a Room Flawlessly: Pro Tips for a Perfect Finish
Painting a room can transform your living space, giving it a fresh, vibrant look that enhances both aesthetics and mood. However, achieving a flawless finish requires more than just slapping on a coat of paint. Professional painters know that success lies in meticulous preparation, the right techniques, and attention to detail. In this comprehensive guide on how to paint a room flawlessly, we’ll share pro tips to help you achieve a perfect finish that rivals any professional job. Whether you’re a DIY novice or a seasoned homeowner, these steps will ensure streak-free walls, even coverage, and lasting results.
With the right approach, you can avoid common pitfalls like drips, roller marks, and uneven colors. SEO-optimized keywords like “paint a room perfectly” and “best painting techniques” highlight the demand for reliable advice. Let’s dive into the process, from preparation to the final reveal.
1. Choose the Right Paint and Finishes
Feature Video
Selecting high-quality paint is the foundation of a flawless paint job. Opt for premium paints from reputable brands like Benjamin Moore, Sherwin-Williams, or Behr, which offer better coverage and durability. Consider the room’s purpose: use semi-gloss or satin for high-traffic areas like kitchens and bathrooms for easy cleaning, while matte or eggshell finishes work best for bedrooms and living rooms to hide imperfections.
Test samples on your walls first, as lighting affects color perception. For a perfect finish, choose paints with low-VOC for health and odor control. Primer is essential if switching colors dramatically or painting over dark shades—tinted primers matching your topcoat color save time and coats. Pros recommend 2-3 coats for optimal coverage, so factor in drying times.
2. Gather Essential Tools and Materials

Invest in quality tools to make how to paint a room easier and yield pro results. Essential items include:
- High-quality angled sash brushes (2-3 inches) for cutting in edges.
- 9-inch roller covers with 3/8-inch nap for smooth walls or 1/2-inch for textured surfaces.
- Extendable roller pole for ceilings and high walls.
- Drop cloths, painter’s tape, and plastic sheeting.
- Ladders or scaffolding, trays, and edgers.
- Sanding blocks, putty knives, and spackle for repairs.
Clean tools prevent defects; microfiber rollers minimize lint. Pros swear by Purdy or Wooster brushes for their durability and precision.
3. Prepare the Room Thoroughly
Preparation accounts for 80% of a professional paint job. Start by removing furniture or covering it with plastic sheets. Lay drop cloths securely to protect floors—tape edges to prevent slipping. Remove switch plates, outlet covers, and light fixtures if possible; tape over those you leave.
Clean walls with TSP (trisodium phosphate) or a mild detergent to remove grease and dust. Rinse and let dry completely. Repair imperfections: fill holes with spackle, sand smooth once dry (220-grit sandpaper), and wipe away dust with a tack cloth. For glossy surfaces, scuff-sand lightly for better adhesion. Tape trim, windows, and ceilings meticulously—use FrogTape for crisp lines, pressing firmly with a putty knife.
Pro tip: Paint on a dry day with good ventilation. Aim for 50-70% humidity and temperatures between 50-85°F to avoid bubbling or slow drying.
4. Prime for a Flawless Base
Priming seals surfaces and ensures even paint absorption, crucial for a perfect finish. Apply one coat of primer with a roller for speed, cutting in edges with a brush. Work in 3×3-foot sections to maintain a wet edge, preventing lap marks. Let dry per manufacturer instructions (usually 4-6 hours), then lightly sand glossy areas.
For new drywall, use a drywall-specific primer. Tinted primer reduces topcoats from three to two, saving time and money. Inspect for missed spots before proceeding—this step prevents color bleed and patchiness.
5. Master Cutting-In Techniques

Cutting in—painting edges where rollers can’t reach—is an art for seamless results. Load your angled brush 1/3 full, tap off excess. Hold at a 45-degree angle, using the long bristles for precision. Start 2 inches from tape, feathering outward.
Work top-down: cut in ceilings first, then walls from corners, windows, and doors. Maintain a steady hand by bracing against the trim. Pros use steady “freehand” cutting with steady pressure, overlapping roller areas slightly. Practice on cardboard first for confidence.
6. Roll Like a Pro for Even Coverage
Rolling delivers the bulk of paint efficiently. Load the roller generously from a lined tray, then offload excess on the tray’s ridges. Use the “W” or “M” pattern: start at the top, roll in a W across the ceiling or wall section, then fill vertically and horizontally without lifting excessively.
Roll from dry to wet areas to blend seamlessly. Apply thin, even coats—thick layers cause drips and sags. For walls, roll in 3-4 foot sections, maintaining a wet edge. Ceiling first, then walls. Use an extension pole for reach without ladders.
Pro tip: Thin coats dry faster and build better. Roll lightly on the final pass for a stippled, professional texture.
7. Apply Multiple Coats Strategically

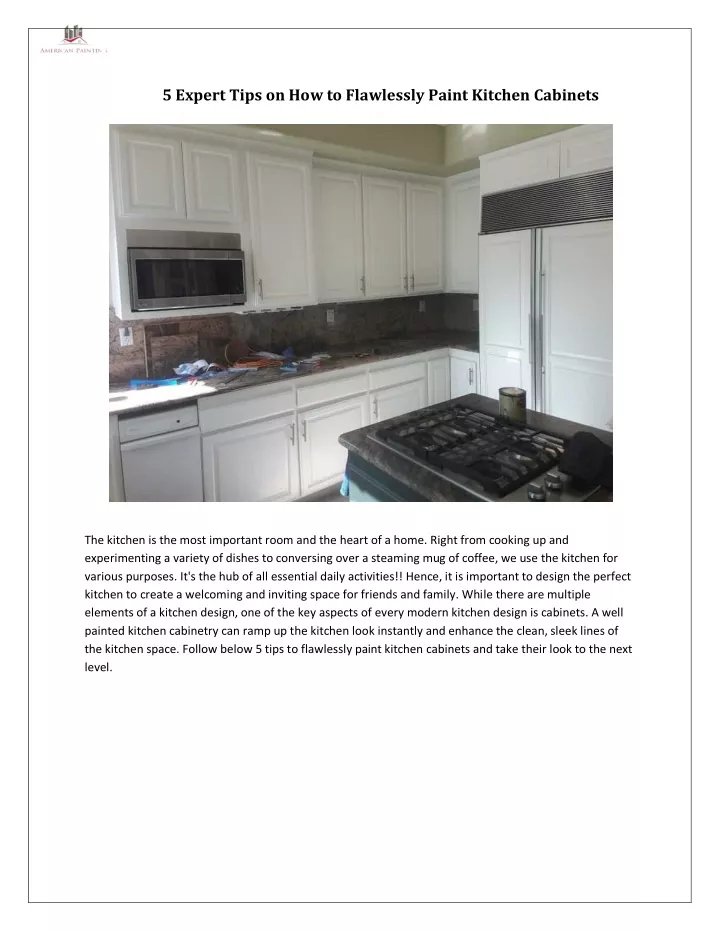
One coat rarely suffices for a flawless look. Allow 2-4 hours between coats. Lightly sand (400-grit) between for ultra-smoothness, especially on cabinets or trim. Second coat covers imperfections; third if needed for depth.
Alternate directions per coat (vertical then horizontal) to hide brush marks. For high-gloss, wet-sand final coat before light buffing. Patience here ensures longevity—rushing leads to visible inconsistencies.
8. Finishing Touches and Cleanup

Once dry (24 hours minimum), remove tape slowly at a 45-degree angle while paint is slightly tacky to avoid peeling. Touch up nicks with a small artist brush. Reinstall hardware carefully.
Cleanup: Rinse brushes immediately in soapy water, working paint out from bristles. Rollers spin-dry then wash. Store tools damp in plastic bags for multi-day jobs. Dispose of waste properly—recycle cans.
9. Avoid Common Mistakes for Pro Results
Steer clear of pitfalls: overloading rollers causes drips; poor prep leads to peeling. Don’t paint in direct sun—flash drying creates marks. Overlap dry paint for lap marks. Ignore ventilation at your peril—fumes linger.
Frequent errors include skimping on primer, using cheap tools, or ignoring dust. Pros vacuum before and between coats. For textured walls, back-roll after spraying if using that method.
10. Pro Tips for That Perfect Finish
– Use LED work lights to spot misses.
– Paint in natural light for color accuracy.
– Add Floetrol to paint for smoother flow and less brush marks.
– For cabinets, spray for glass-like results.
– Maintain tools: clean daily.
These insider secrets elevate DIY to professional levels. A flawless room paint job boosts home value and enjoyment.
In conclusion, mastering how to paint a room flawlessly demands preparation, quality materials, and technique. Follow these pro tips for a perfect finish that impresses. Your transformed space awaits—roll up your sleeves and get painting!
(Word count: 1215)