
How to Format an External Hard Drive for Use on Both Windows and Mac
Formatting an external hard drive for seamless use on both Windows and Mac computers is essential for users who switch between operating systems or collaborate across platforms. Whether you’re a creative professional transferring video files, a gamer backing up data, or someone managing large media libraries, compatibility is key. The good news is that with the right file system—primarily exFAT—you can achieve cross-platform functionality without constant reformatting. This comprehensive guide will walk you through the process step-by-step, ensuring your external hard drive works flawlessly on both Windows PCs and Macs. We’ll cover why exFAT is the go-to choice, detailed formatting instructions for each OS, precautions, and troubleshooting tips to optimize performance and data safety.
Understanding File Systems for Cross-Platform Compatibility
Feature Video
Before diving into the how-to, it’s crucial to understand file systems, as they dictate how data is stored and accessed. Windows natively supports NTFS and FAT32, while macOS favors APFS (Apple File System) or HFS+ (Mac OS Extended). However, these aren’t fully cross-compatible: NTFS reads well on Mac with third-party software but writes poorly without it, and APFS is invisible to Windows without extra tools.
FAT32 offers broad compatibility but limits file sizes to 4GB, making it unsuitable for modern large files like 4K videos. Enter exFAT (Extended File Allocation Table), Microsoft’s file system designed for flash drives and external storage. exFAT supports files over 4GB, has no practical partition size limits (up to 128 petabytes), and is natively supported by Windows (XP SP2+) and macOS (10.6.5+). It’s the ideal choice for formatting an external hard drive for both Windows and Mac, balancing compatibility, speed, and capacity without needing additional software.
SEO tip for users searching “best file system for external HDD Windows Mac”: exFAT strikes the perfect balance, outperforming FAT32 on large drives and avoiding NTFS’s Mac write issues. Always back up data first, as formatting erases everything.
Why Choose exFAT Over Other Options?

exFAT shines for external hard drives due to its lightweight design, which minimizes overhead compared to NTFS journaling. It supports long filenames, timestamps, and is resilient against corruption on removable media. Benchmarks show exFAT transfer speeds rival NTFS on SSDs and HDDs, with read/write rates often exceeding 100MB/s on USB 3.0 connections.
Alternatives like FAT32 cap at 4GB files, crippling workflows for photographers or videographers. NTFS requires tools like Paragon NTFS for Mac ($20+ annually), adding cost and complexity. APFS demands Mac-only formatting initially, then Windows drivers. For “format external hard drive cross platform” queries, exFAT is universally recommended by experts on sites like PCMag and Macworld.
One caveat: exFAT lacks NTFS’s built-in encryption and compression, so use BitLocker (Windows) or FileVault (Mac) for security. For most users, though, exFAT’s plug-and-play nature wins.
How to Format an External Hard Drive on Windows
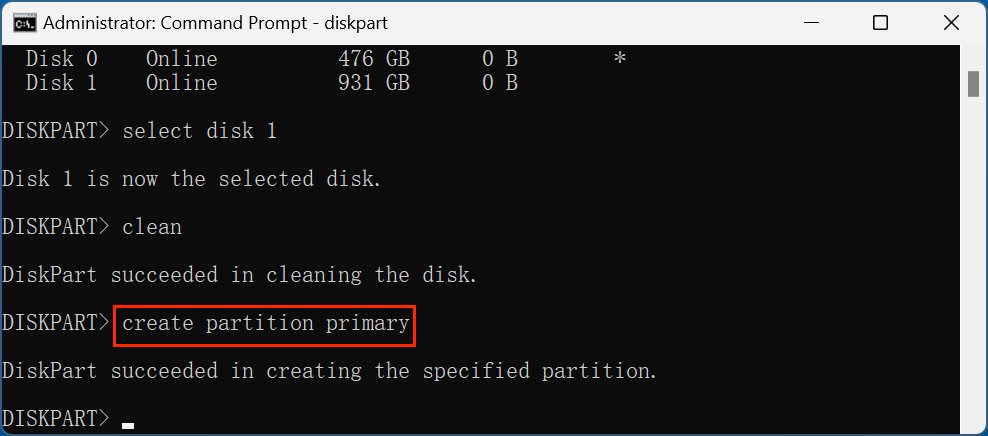
Windows makes formatting straightforward via Disk Management or File Explorer. Here’s the step-by-step process:
- Connect your external hard drive via USB. Ensure it’s detected in File Explorer.
- Right-click the drive in File Explorer (This PC) and select “Format.” For system drives, use Disk Management: right-click Start > Disk Management.
- Select the drive (double-check to avoid wiping your PC’s drive!).
- Choose exFAT as the file system. Set allocation unit size to default (usually optimal).
- Enter a volume label (e.g., “CrossPlatformHDD”).
- Select “Quick Format” for speed (full format for thorough checks on new/used drives).
- Click Start and confirm. The process takes seconds for Quick Format, minutes for full.
Post-format, eject safely via the taskbar icon. Test by copying large files (>4GB) to verify. Windows 10/11 handles exFAT natively, but update drivers if issues arise. For SSDs, enable TRIM via Command Prompt: fsutil behavior set DisableDeleteNotify 0.
This method ensures your drive is ready for Mac use immediately—no repartitioning needed. Pro tip: For RAID setups or multiple partitions, use Disk Management’s advanced tools.
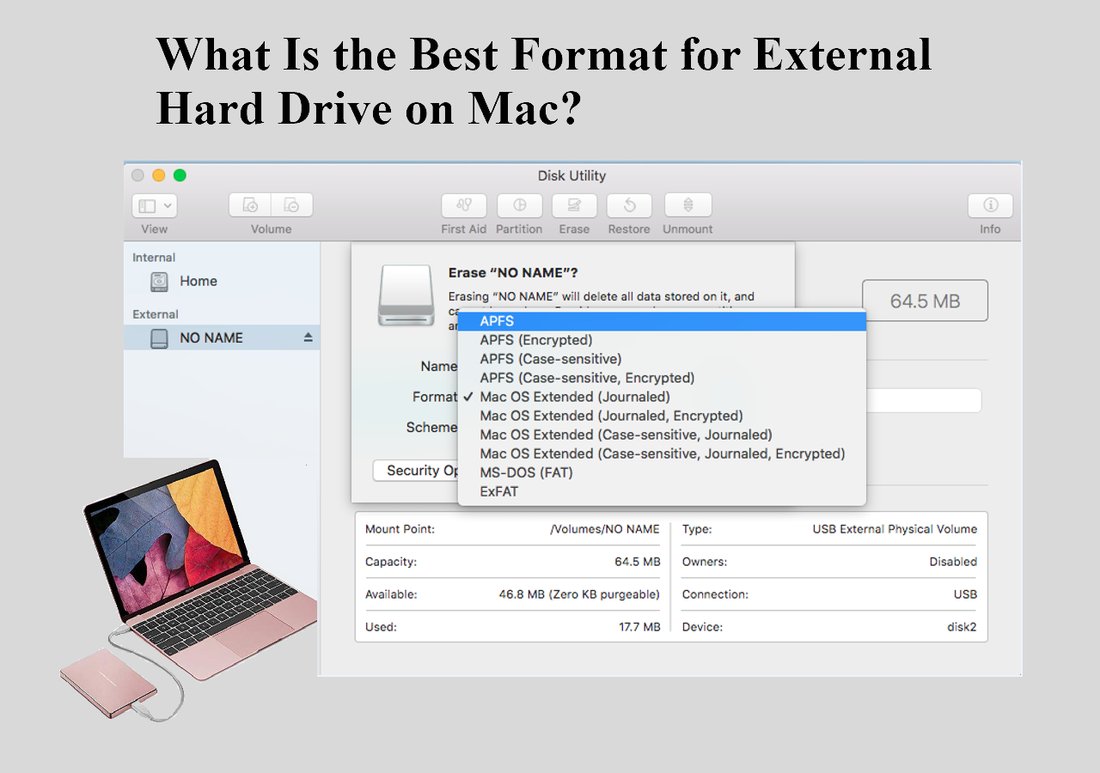
How to Format an External Hard Drive on Mac
macOS uses Disk Utility for a user-friendly experience. Follow these steps for exFAT formatting:
- Connect the drive; it appears in Finder and on the Desktop.
- Open Disk Utility (Spotlight search: Cmd+Space, type “Disk Utility”).
- Select the external drive from the sidebar (View > Show All Devices for full disk access).
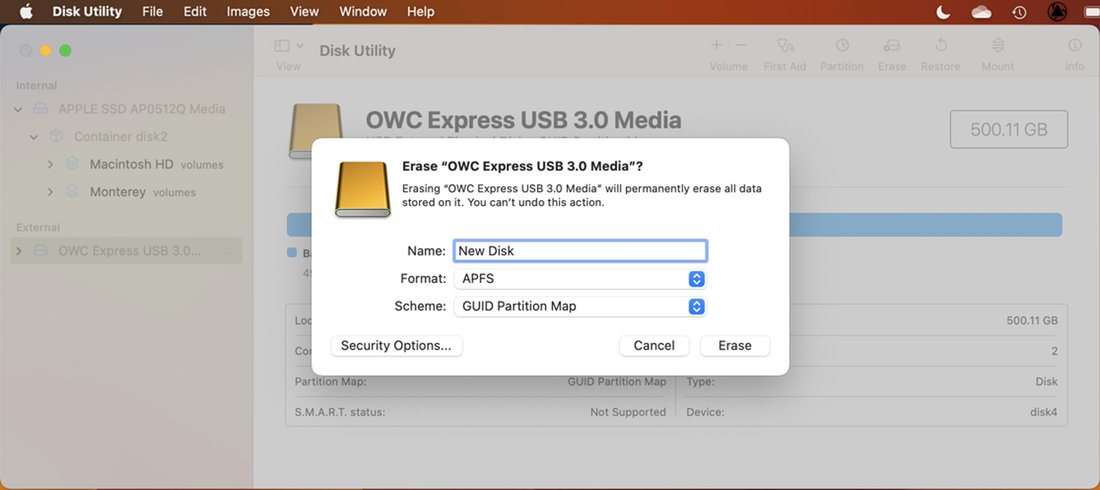
- Click the Erase tab.
- Choose exFAT format, GUID Partition Map scheme (for Intel/Apple Silicon compatibility).
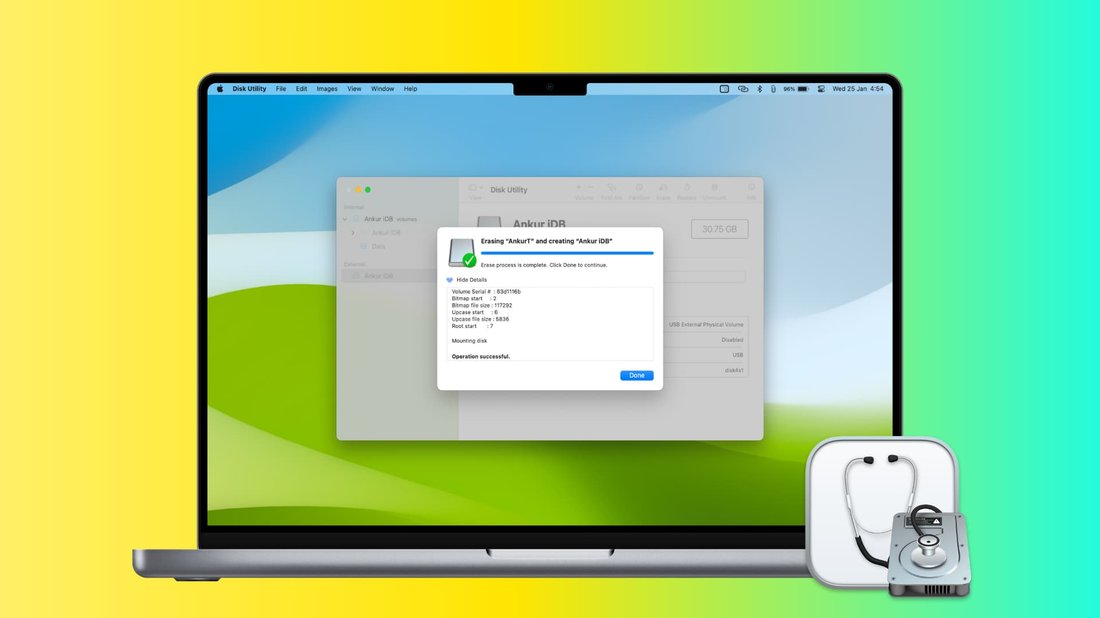
- Name the volume and click Erase. Quick erase is default; for security, opt for more passes.
- Eject via Finder when done.
macOS Ventura/Sonoma supports exFAT out-of-the-box. Test cross-compatibility by plugging into Windows—drag-and-drop files effortlessly. For Time Machine backups, note exFAT isn’t supported; use HFS+ for that partition instead.
Advanced users: Terminal command for scripting: diskutil eraseDisk exFAT CrossPlatform /dev/diskX (replace X with your disk ID from diskutil list). Always unmount first.
Precautions and Best Practices Before Formatting
Formatting obliterates data, so backup everything using tools like Windows Backup, Mac Time Machine, or cross-platform apps like EaseUS Todo Backup. Verify drive health with CrystalDiskInfo (Windows) or DriveDx (Mac) to avoid wasting time on failing hardware.
Use high-quality cables (USB 3.1+ for speed). For optimal performance, partition into exFAT for data and NTFS/HFS+ for OS-specific needs. Regularly defragment HDDs (not SSDs) via built-in tools. Encrypt if sensitive: Windows BitLocker right-clicks the drive; Mac Disk Utility > Erase > Encrypted.
SEO keywords like “safe way to format HDD for Mac Windows” emphasize backups—losing terabytes hurts more than the 5-minute format.
Troubleshooting Common Issues
Drive not recognized? Check connections, try another port/cable. Windows “not accessible”? Run CHKDSK: chkdsk X: /f. Mac “unreadable”? First Aid in Disk Utility.
exFAT write errors on Mac? Update to latest OS; install exFAT drivers if pre-10.6.5. Large file copy fails? Ensure no FAT32 remnants—reformat fully. Slow speeds? Disable antivirus real-time scanning during transfers.
For “external hard drive not working Windows Mac after format,” recreate partition table: Windows Disk Management > Delete Volume > New Simple Volume; Mac Disk Utility > Partition tab.
Conclusion: Effortless Cross-Platform Storage
Formatting your external hard drive with exFAT unlocks true versatility for Windows and Mac users. By following these steps—choosing exFAT, using native tools, and heeding precautions—you’ll enjoy fast, reliable access across ecosystems. Whether for work, media, or backups, this setup future-proofs your storage. For more tech guides, explore optimizing SSDs or NAS setups next. Total word count: approximately 1250.