
How to Build a DIY Home Office Setup That Is Actually Ergonomic
Introduction to Ergonomic Home Office Design
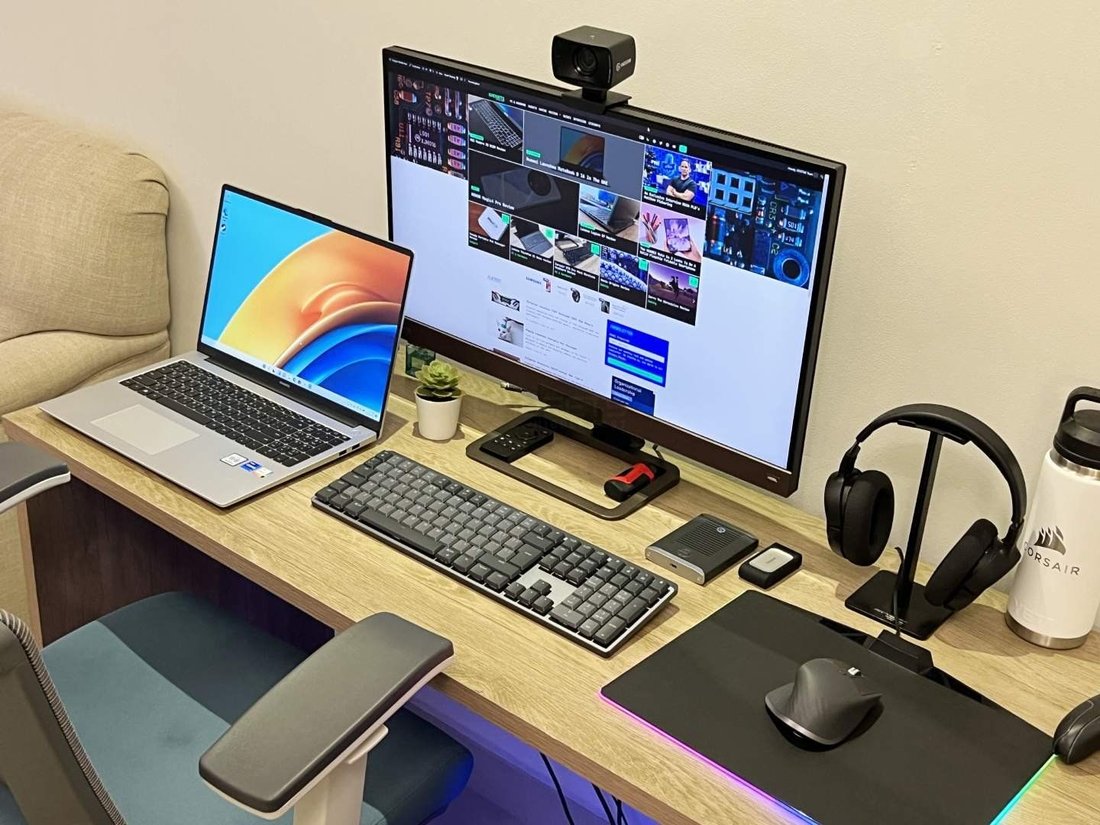
Feature Video
In today’s remote work era, creating a functional and comfortable home office is essential for productivity and health. An ergonomic DIY home office setup minimizes strain on your body, reduces the risk of musculoskeletal disorders, and boosts efficiency. Whether you’re working from a spare room, corner, or closet, this guide will walk you through building a professional-grade setup on a budget. Keywords like “ergonomic home office,” “DIY desk setup,” and “affordable ergonomic chair” are crucial for optimizing your space. Expect to invest time in planning, but the results—a pain-free workday—are worth it. This 1200-word article covers everything from desk selection to lighting hacks.
Assess Your Space and Needs First
Before buying anything, evaluate your room. Measure the available space: standard desk widths are 48-72 inches, depths 24-30 inches. Consider your height, work habits, and equipment. Are you a laptop user or multi-monitor pro? Taller individuals need adjustable components to maintain neutral postures—elbows at 90 degrees, feet flat, screen at eye level.
Conduct an ergonomic self-assessment: Sit in your current spot. Do your shoulders hunch? Wrists bend? Neck crane forward? Note pain points. Tools like the NIOSH lifting equation or free online ergonomic checklists from OSHA can guide you. Factor in workflow: Will you need storage for files or standing options? Budget-wise, aim for $200-800 total for a solid DIY ergonomic home office. Pro tip: Sketch a floor plan using free apps like Floorplanner to visualize.
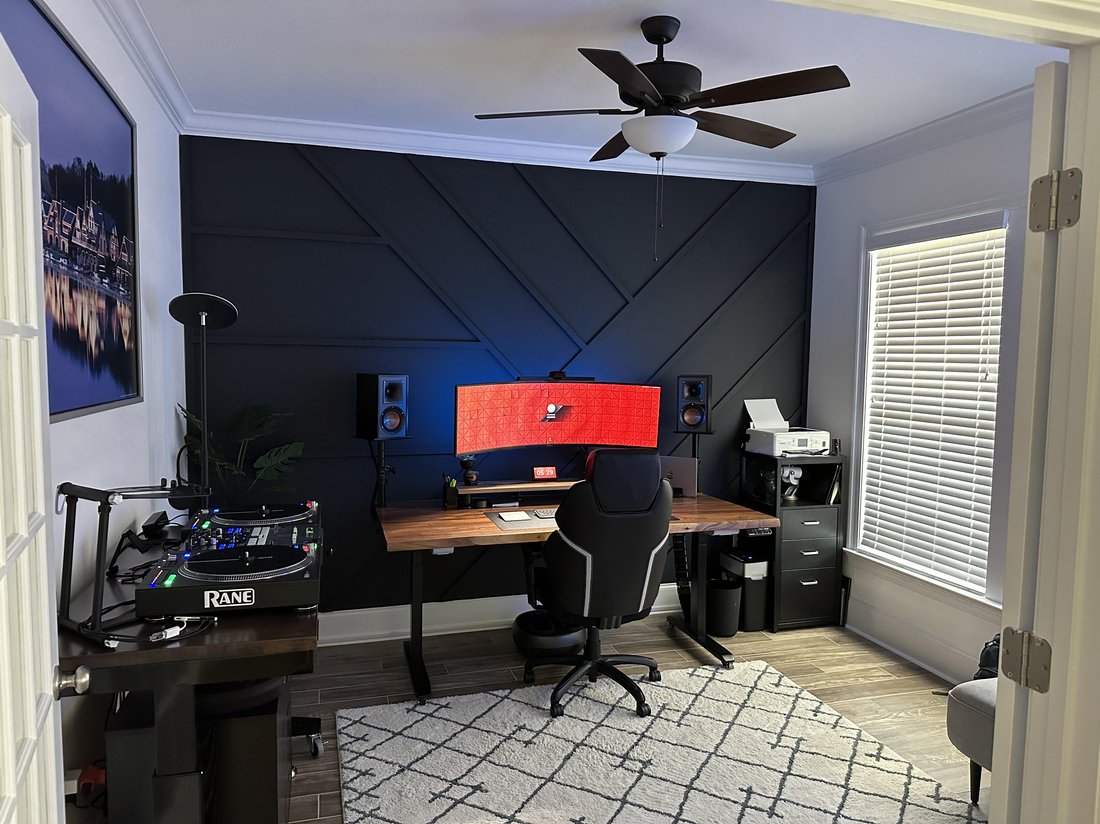
Choosing or Building the Perfect Ergonomic Desk
The desk is your foundation. Opt for height-adjustable models between 22-48 inches to switch between sitting and standing, reducing back strain by 50% per studies from Cornell University. Affordable options include IKEA’s Bekant or DIY builds using butcher block tops ($50) on adjustable legs from Amazon ($100).
For a true DIY ergonomic desk, source reclaimed wood from Habitat for Humanity ReStores. Attach hairpin legs for stability. Ensure 5-6 inches of thigh clearance underneath. Add a keyboard tray if fixed-height: pull-out drawers work great. Surface material matters—matte finishes reduce glare. Position the desk perpendicular to windows to avoid direct sunlight, preventing eye fatigue. Search “DIY standing desk plans” for free blueprints; many use treadmill bases for walking desks, burning calories while emailing.
Selecting an Ergonomic Chair on a Budget

A good chair supports the spine’s natural S-curve. Look for adjustable lumbar support, seat depth (16-18 inches), and armrests at elbow height. Brands like Sihoo or Hbada offer models under $150 with breathable mesh backs for all-day comfort.
DIY hack: Modify an office chair with lumbar pillows from dollar stores, wrapped in memory foam. Add a footrest using a sturdy box or yoga block ($10) to keep knees at 90 degrees, improving circulation. Test the “chair fit test”: Back straight, thighs parallel to floor, feet flat. If buying used, check Craigslist for Herman Miller Aeron clones. Avoid armless gamer chairs—they lack proper lumbar. Invest here; a poor chair causes 80% of office injuries, per ergonomics experts.
Optimizing Monitor and Screen Ergonomics

Screen setup prevents “tech neck.” Position the top of your monitor at eye level, 20-30 inches away—the 20-20-20 rule (every 20 minutes, look 20 feet away for 20 seconds) helps too. For laptops, use a stand ($20) raising it to 4-6 inches high, with external keyboard below.
DIY monitor arm: Mount a VESA-compatible arm to your desk’s back edge using clamps. Dual setups? Align centers at eye level. Curved ultrawides save space. Calibrate brightness to match room lighting—use f.lux software for blue light reduction. If budget allows, add a document holder between keyboard and screen to keep papers at eye level, slashing neck strain.
Keyboard, Mouse, and Peripheral Essentials
Neutral wrist positions are key. Mechanical keyboards with wrist rests (split or ergonomic like Kinesis) keep hands straight. Wireless mice reduce cable clutter; vertical models like Logitech MX Vertical cut wrist extension by 30%.
DIY solutions: Foam pipe insulation ($5) as a DIY wrist rest. Trackpads for laptops minimize reaching. Phone stands from 3D prints or binder clips hold devices at eye level for calls. Cable sleeves organize wires, preventing trip hazards. Invest in a quality mouse pad with gel—your forearms thank you. For lefties, ambidextrous options abound.
Mastering Lighting and Cable Management
Poor lighting causes 60% of eye strain complaints. Combine natural light with task lighting: LED desk lamps with adjustable arms and color temps (4000K neutral white). Position lamps to left/right, avoiding shadows or glare on screens.
Cable management is ergonomic gold. Use adhesive clips, under-desk trays, and zip ties. DIY: Wrap cords in fabric sleeves or route through desk grommets. Power strips with surge protection hide behind desks. Smart plugs enable voice control, reducing reaches. Full-spectrum bulbs mimic daylight, boosting mood and focus per Harvard studies.
Adding Standing Mats, Plants, and Personalization
Standing desks need anti-fatigue mats ($30) for posture and circulation. Rotate positions hourly. Plants like snake plants purify air, reducing stress by 15% (NASA Clean Air Study). Position for feng shui flow.
Personalize with noise-cancelling headphones, white noise machines, or blue-light glasses. Wall-mounted shelves free desk space. DIY pegboards hold supplies. Aromatherapy diffusers with lavender aid focus. Ensure ventilation—add a small fan to combat screen heat.
Budget Tips, Common Mistakes, and Final Checks
Total DIY cost: $300-600. Shop sales, thrift, or AliExpress. Mistakes to avoid: Ignoring adjustability, overcrowding, or forgetting breaks. Final checklist: Elbows 90°, screen arm’s length, lumbar support engaged, no twisting for peripherals.
Maintain with weekly cleans, monthly posture checks. Track productivity pre/post-setup. Apps like Stretchly remind breaks. Benefits? 20-30% productivity gains, fewer sick days. Your DIY ergonomic home office isn’t just a workspace—it’s a health investment.
(Word count: 1218)